How to recycle cardboard to make a cover
How long do you scrap?
I discovered scrapbooking in 2006. At this time, I did not have much equipment and no space for this hobby.
Today, if I have at home a room for scrapbooking and I've fell for many supplies and equipment, it is the free time that I miss. But I've started again a few months ago, so a little more regular.
What do you like to do
with scrapbooking?
Right now, I'm fallin for stamps and their colorization, I also really love the 30x30 pages that give room for a lot of customization.
But what I prefer in scrapbooking is to get a whole bunch of things that can really personalize the creations, making them truly unique: the bars and broken 'darlings' , damaged leather shoes, buttons and clothes labels , old spare key ... so many wonders that fill my baskets ^ ^
What are your favorite colors?
I love pink and medium gray, two colors that match really well for my taste.But I do not stop to these colors, I find them all pretty when they are well coordinated.
What brings scrap to you ?
Some time for me to relax. The satisfaction of creating with my hands and pride when that I do please to me;)
It is a broad field of art, there are many technics, many possibilities, I am far from having done everything, seen everything, succeeded, but I want to discover, learn and improve me.
Finally, it is a great way to showcase memories, faces ... I hope my children and my family will appreciate my work when they will pick up the emotion of the moment through photos, journaling and feelings in these pages or other albums.
SoScrap share her creations, ideas, articles about scrapbooking. You'll also find on her blog free tags printable, and links to useful tools for scrapbooking.
RECYCLED ALBUM COVER
It has become the rule today... waste nothing, throw away as little as possible, recycle all materials that can be recycled. This is what Sophie shows us today: damaged cardboard sheets can be perfectly recovered and reused. So let's take it one step by step!
 The material to be recycled
Here is a step to prepare an album cover from recycled cardboard.
Here I used sheets of an old box game of my children.
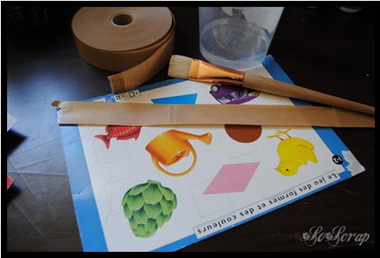
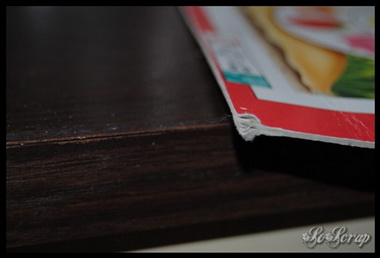
The problem on most recovered carboard sheets is the edges often damaged:
 Step by step recycling
We will therefore use the brown kraft gummed tape to fix the corners and get a perfect support. This is a supply not very expensive but very useful;)
We will cover the corners but also the edges.
Do do not soak the gummed Kraft : it would lose its stickiness and water may damage a little more cardboard backing.
![]() So we must cut strips to length for allowing 1 cm on each side:
So we must cut strips to length for allowing 1 cm on each side:
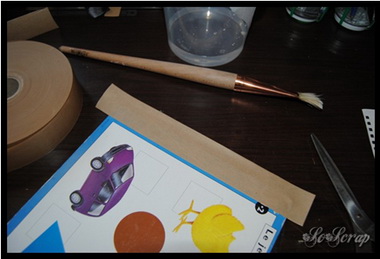
I wetted only half of the strip.
To glue the kraft tape, use a sponge and moisten the support or kraft. Sure to run once the sponge on the tape otherwise it loses its adhesive power.
We will then cut corners in this way:
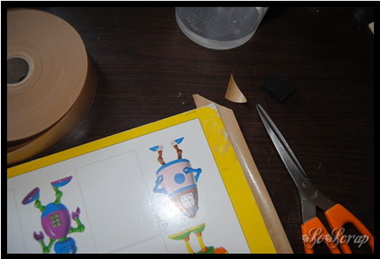
Keep the cut triangle and paste it on the other side of gummed tape.
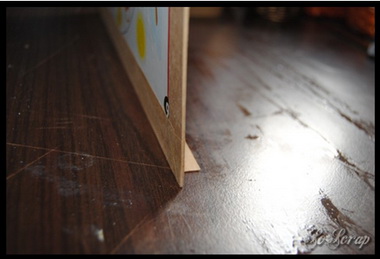
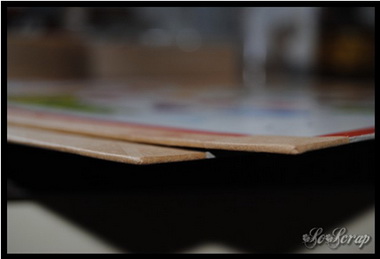
![]() Little trick to properly stick the tape without pull it, which could tear : wet the tape and put the cardboard sheet not quite perpendicular to the table, side already stuck back at the table like this:
Little trick to properly stick the tape without pull it, which could tear : wet the tape and put the cardboard sheet not quite perpendicular to the table, side already stuck back at the table like this:
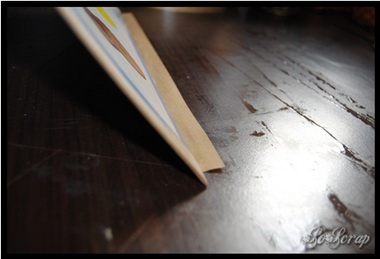
Then drag by increasing the angle back / table holding the sheet firmly against the table along its entire length:
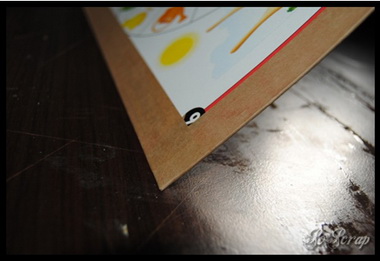
And full return the cardboard :
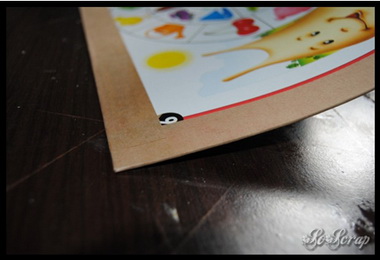
It only remains to paste the rest. This allows to have clean edges
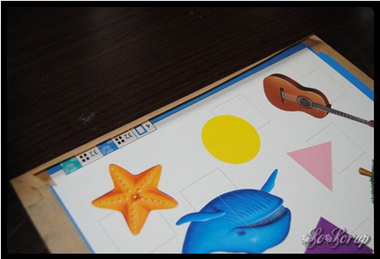
If you have any gummed Kraft overlapping, no panic, the tape is very thin and the cut will be almost invisible in the thickness of a scrapbooking paper .
We will take again the triangles and glue them upside down like this:
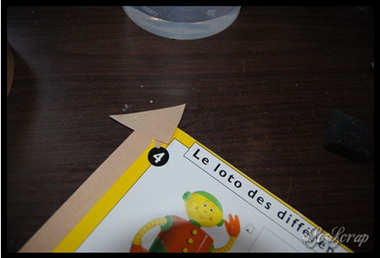
And just bend over which exceeds on the other side. Here is the result, the edges and corners are clean and consolidated ;)
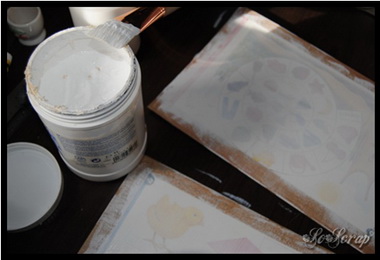
![]() To finish preparing the cardboard to be decorated, we will spend a coat of gesso on the entire surface, by overflowing on the Kraft tape.
To finish preparing the cardboard to be decorated, we will spend a coat of gesso on the entire surface, by overflowing on the Kraft tape.
Remember not to leave the gesso clump on the boundary kraft / support. To do this, pass a final brushstroke from edges toward the center of the sheet.
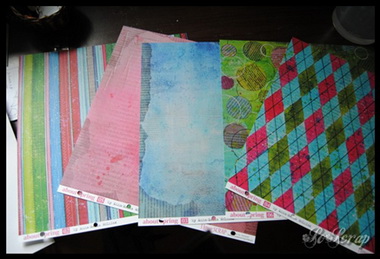
Now our support is ready to be decorated! Select your papers... for me, it will be these beautiful papers from I LOWE SCRAP:
With my little corner punch, I'll festoon my papers:
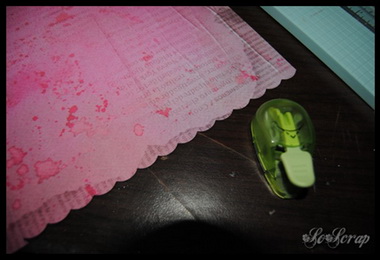
I then cut the paper to size and I refine my sagging with a small file.
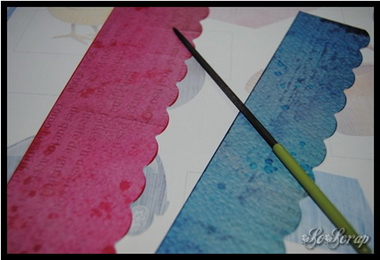
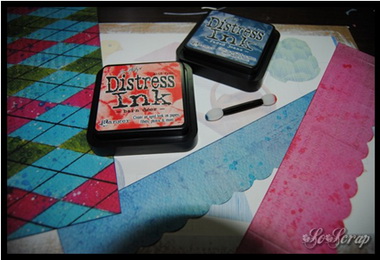
Then I ink the edges of any paper with a coordinated tone ink.
Finally I'll stick with vinyl adhesive (well spread out in small steps, carefully because it can warp the paper):
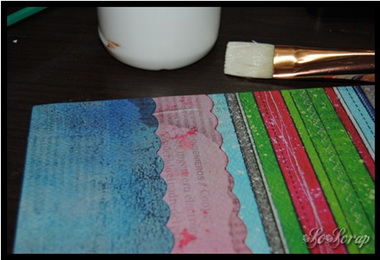
 Et le résultat final...
That's what it can give :
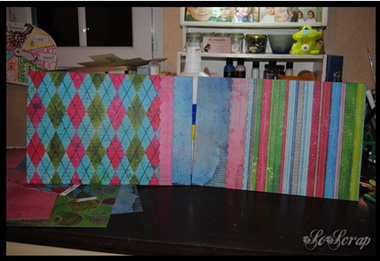
You have now to add embellishments, stamps, etc. ...
So do not hesitate to recycle cardboard, even mutilated, brown gummed kraft tape is your friend;)
Encyclopedia
of Scrapbooking
Creating Keepsakes
When it comes to making the most of your memories, take a page from the Creating Keepsakes experts. Beginners and more experienced scrapbookers alike will turn to this hefty new reference guide time and time again for helpful insights and daily inspiration on tools, techniques, layouts - plus all the can't-miss tips you'd expect from The Scrapbooking Authority.
Scrapbooking Tools
and Techniques
Susan Pickering
This guide to everything scrapbooking (for the uninitiated: decorating a photo album) will acquaint both novice and experienced creators with the astounding array of products and methods available to them...
The Amazing Page:
650 Scrapbook
Page Ideas
Memory Makers
Includes a CD-Rom of 75 printable page layout sketches...
This book takes two of scrapbooking's bestselling topics--page idea galleries and page layout sketches--and combines them into one blockbuster book !
Impossible to circumvent !


