MINI-SCRAPBOOKING ALBUM
MAKE A FOLD-OUT ACCORDION
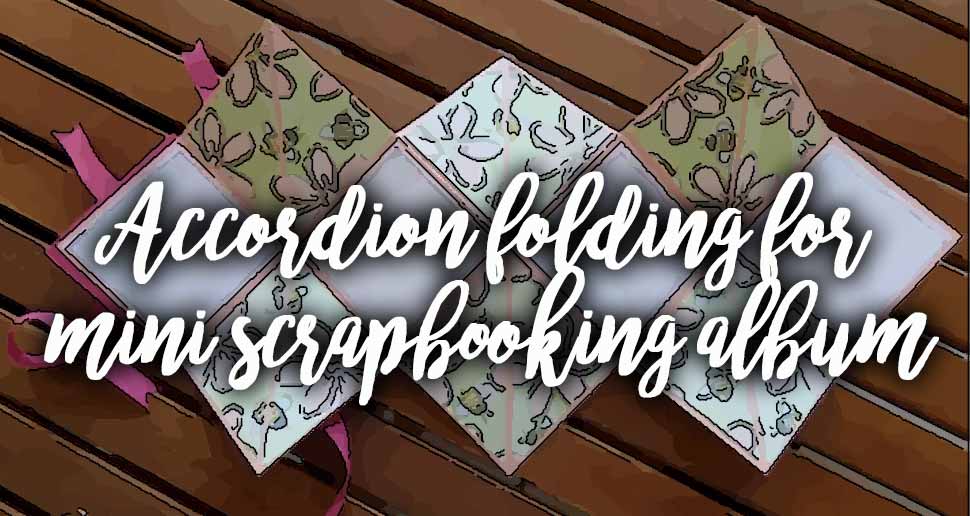
Here is the "accordion" mini-album I propose you to do. The foldings are very simple and do not pose any problem ... up to you then.
It is a great gift idea which is always nice to receive.
 Needed to make this mini accordion
For this mini accordion, you'll use printed on both sides paperboard ( Bazzil or color Canson Style).
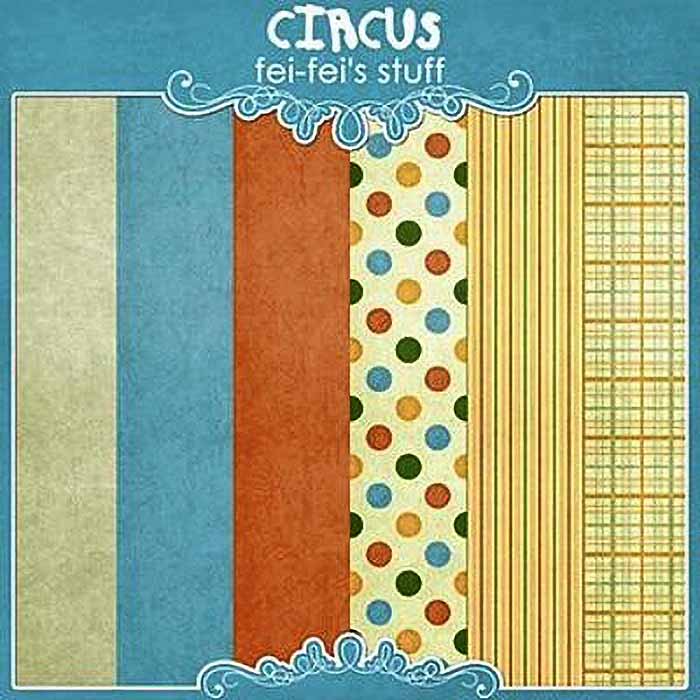
For me, I was looking on the Feifeistuff'site the coordinated papers Pack CIRCUS (free download) .
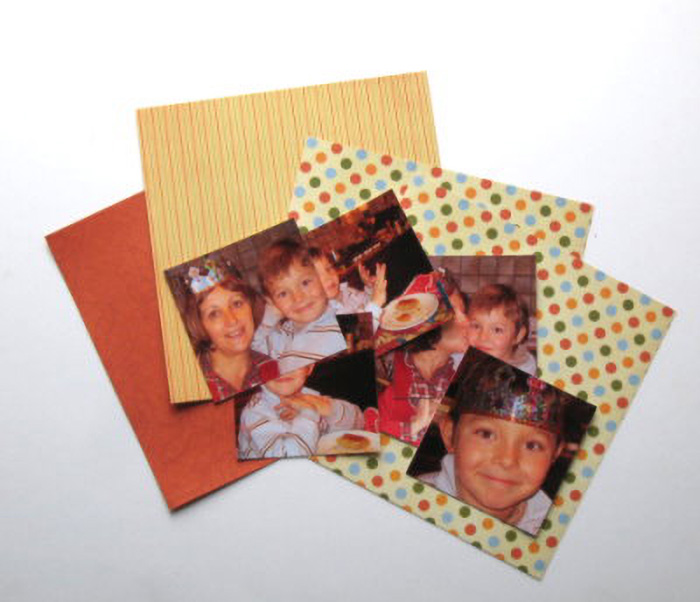
I chose a polka dotted paper and one another with stripes and I printed them on a A4 KODAK Matte Photo Paper 165g, one on the front and the other on the back.
For the 2 covers, I chose the dark orange paper matched with the precedents.
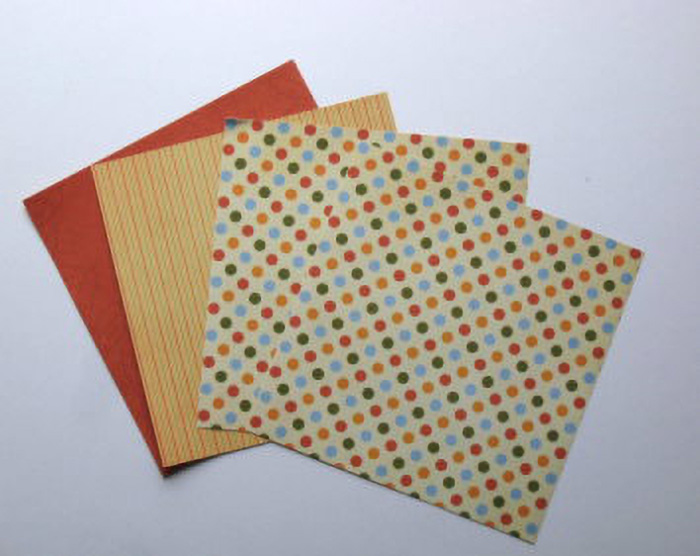
When calculating the ink and printer maintenance costs, I see than it is not always an economy to print yourself the papers ... but I was eager to get to work so I chose the quickest route!
If you're doing like me, print 3 A4 sheets and resize them to obtain 3 squares of 21cm side . Otherwise, Cut the squares with the paper you have.
You'll also need some cardboard, neutral glue , a bone folder ... just plain good!
Begin by sorting you photos : here I have chosen 6 photos which I've cropped to 10x10 ...
We can put more photos, it's "up to you", but in this case, some will be bent, which may seem totally unattractive!
In this step by step tutorial, I just give you the principle of mini-accordion : it will be up to you to adapt it according what you want and decorate your mini-album to your taste.
 The foldings Technic
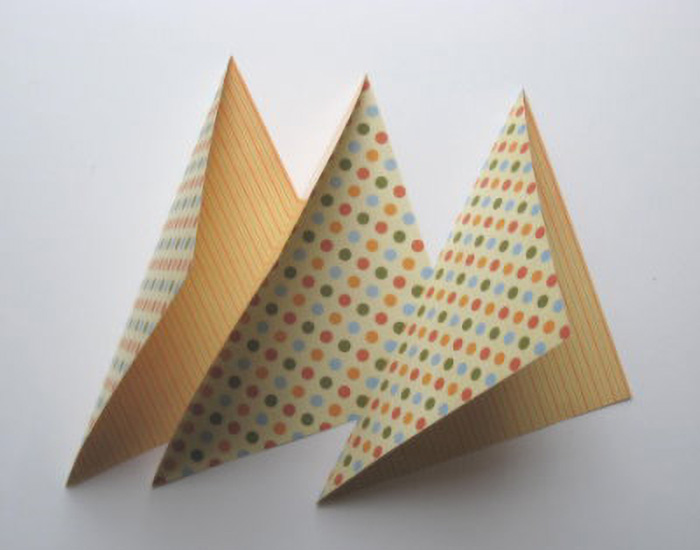
Put the first square front of you, visible stripes and fold along a diagonal. Mark well the diagonal crease with a bone folder. Repeat for the second square: caution, the sheet is placed upside down before folding.... For the third, begin with the dotted face front of you and fold.
You get 3 squares folded on their diagonal.
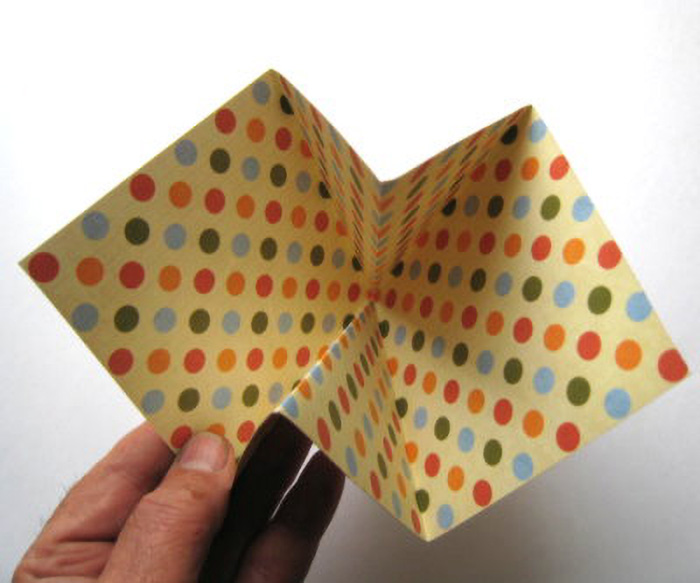
Return the first square and fold it in half both ways by scoring well with the bone folder each time.
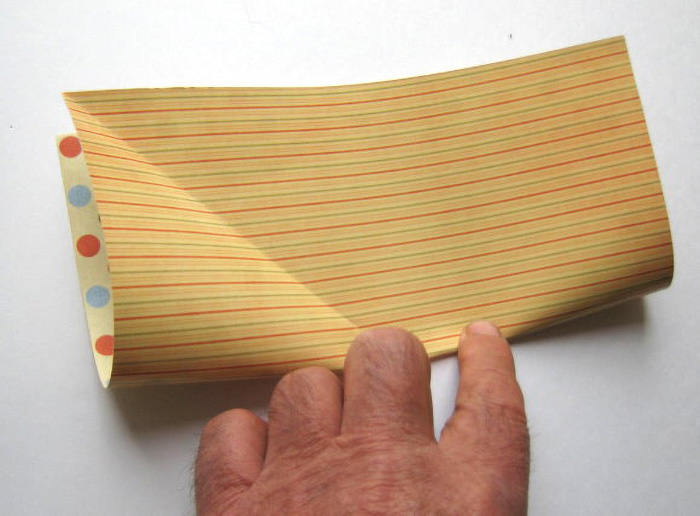 When these two new creases are made, the sheet folds almost alone on itself to form two stacked squares separated by "bellows" like in an accordion.
Repeat the previous operation on the third leaf ...
For the second, it's the same way but reverse sides before folding ! If like me you did the first crease on peas, for this time made the first crease on the stripes! This is important because if not you can't correctly fold the accordion.
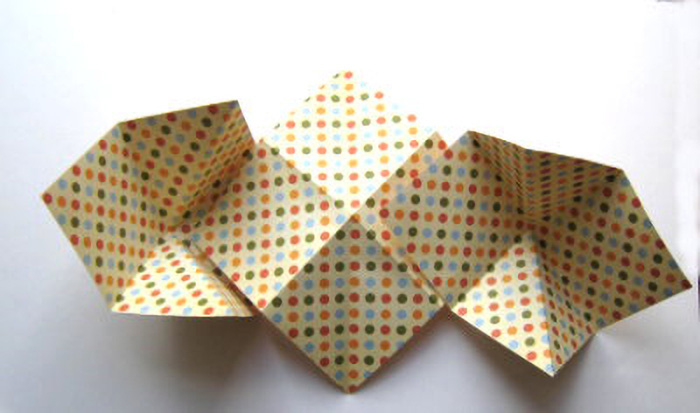
Place 3 sheets with a lap ...
Put on the middle the one with inverted creases.
Assembling and gluing
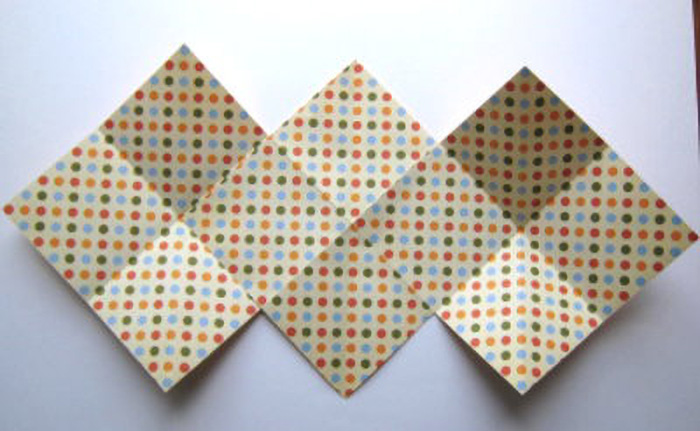
Make three overlapping sheets like the photo and paste them with neutral glue .
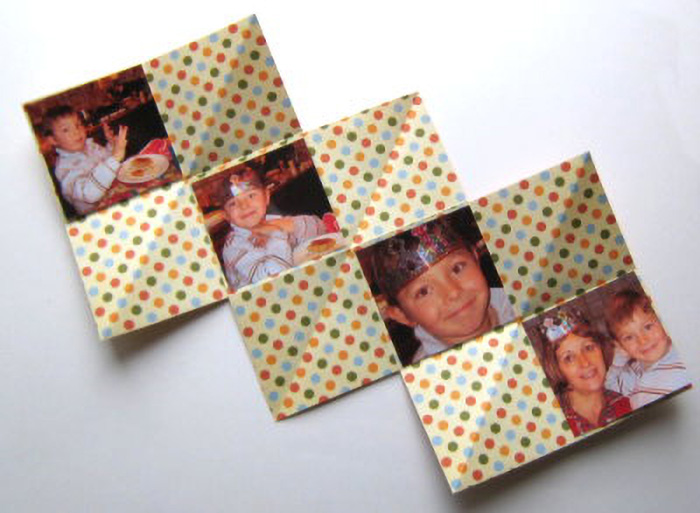
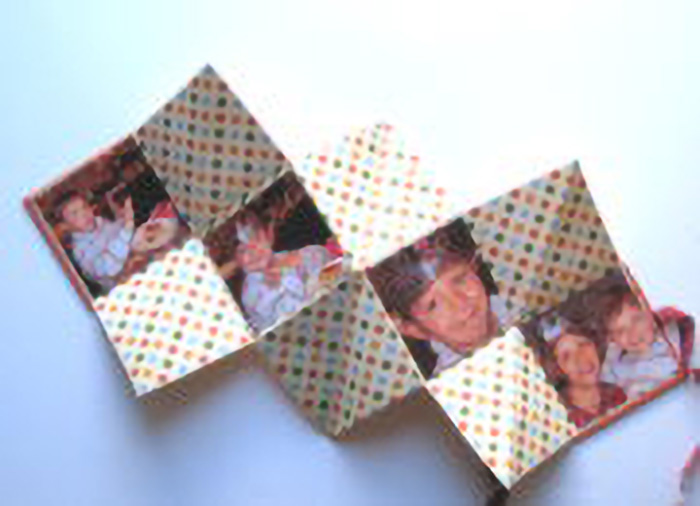
Then paste your pictures with the same acid-free glue on the no folded squares ... In total there are 8 squares free of creases... Two of them on the same side are used for the cover and the back of your accordion album ...
So you can put and stick 6 photos! If you do not mind folding the pictures ... you can add 6 on the inner side and 4 on the other side!
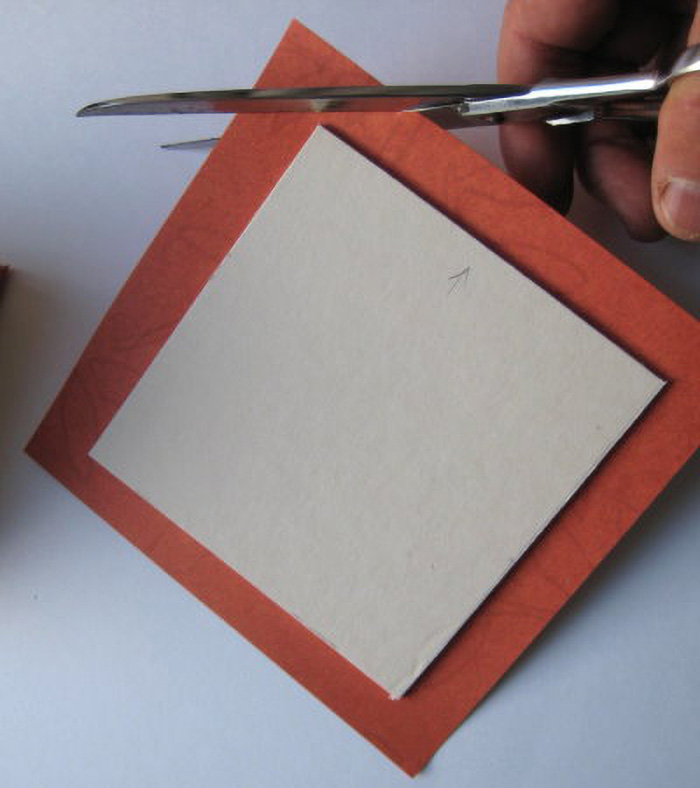
In the cardboard, cut two squares of 11cm side. Dress these squares with a matching paper. Leave overflow of 2cm in all directions, cut corners, glue and fold banck on the cardboard.
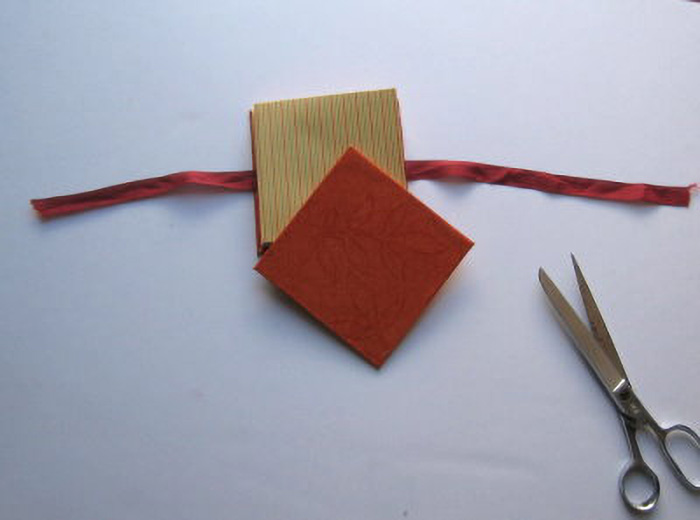
Glue the cardboard cover on the front of the accordion. Stick a ribbon on the back and then paste the backing board on the back of the accordion.
It's over ... You've did it ! It's time to decorate now your accordion. Good scrapbooking !
Outstanding Mini Albums:(Paperback)
Jessica Acs (Author)
Mini albums have become a popular medium for scrapbookers - they are small enough to complete in a timely manner but big enough to tell a story.
Features 50 albums with step-by-step instructions for over 30 projects - perfect for scrapbookers of all levels...
Make It in Minutes
Roxi Phillips (Author)
these mini-books are perfect for celebrating everything from holiday memories to childhood events
So many styles, so many reasons to make them! Whether they’re accordion folded, stitched together, ribbon-tied, or paper-punched and bound with binder rings...
