MINI ACCORDION ALBUM
SCRAPBOOKING from LA REUNION Islnd
Emma works and lives in La Reunion Islands! The lucky! You can find her on her very colorful and full of strange flowers blog !

![]()
How long have you scrap?
I discovered this creative leasure by leafing through a magazine during the summer of 2005 .. the idea challenged and seduced me, but for lack of know-how I stumbled. Then in January 2006 ... I flow the 10.000kms that separate me from France to attend an intensive course! Just to learn the basics. ... and get into the adventure ....
What do you prefer to Scrap?
I have no preference ... from cutting paper to stamping and inking via stitching ... I like to diversify and continue to learn, to discover ... to go with ... small more for the realization of mosaic pages and that of mini album, allowing me to make a digest of these magical moments immortalized by our cameras.
What are your favorite colors?
I love all the colors when it it is question of scrapbooking ! yes because they depend heavily on the picture ... The attraction will be said for all these blues and sand colors, earth, ocher, brown, green ...from Mother Nature ...
What brings you Scrap?
A real pleasure to offer pages or minis to allow us to relive after the moments of our lives ... happy to have created, to have made these little bits of life we will remember ...
The scrap also allows me to gradually discover other Scrappers via the net ... and share. It's amazing ... I feel so far away!
To explore the little bits of scrap Emma:
 Materials Needed
(For a basis of 10/12 pages ...)
- A large sheet of drawing paper (65x50 format)
- A sheet of cardboard
- Off cuts of printed paper
- A ribbon
 The making of...
![]() Cut 3 strips of 14cm in height in the large sheet of drawing paper.
Cut 3 strips of 14cm in height in the large sheet of drawing paper.
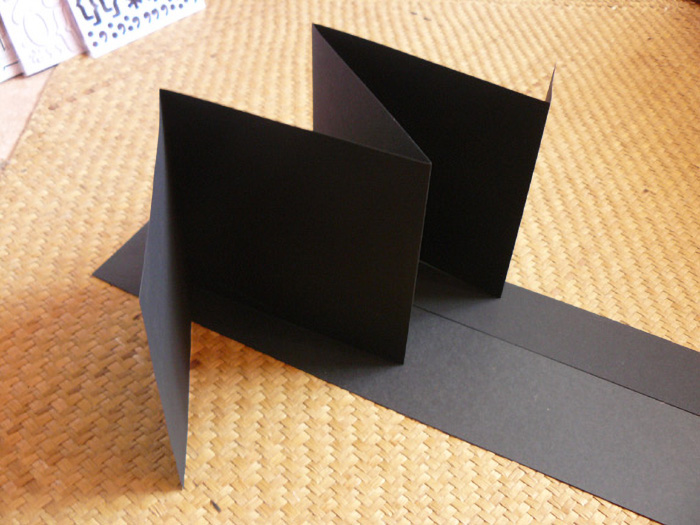
![]() Mark folds all 14cm and fold in accordion band. You need and get 4 squares 14cmx14cm and a rectangle (flap) : 14cm high x 9cm wide (see the shaded area on the photos)
Mark folds all 14cm and fold in accordion band. You need and get 4 squares 14cmx14cm and a rectangle (flap) : 14cm high x 9cm wide (see the shaded area on the photos)
This 9cm flap will help you make the connection between 2 bands by losing less paper!
![]() To connect your strips ... put glue on the shaded area, or the right end of the last square (A4) and apply the second strip cut (the back of B1) ... so on ...
For the 3rd band you can by cutting the 9cm flap. ... Because you will paste the last page on the front cover page.
To connect your strips ... put glue on the shaded area, or the right end of the last square (A4) and apply the second strip cut (the back of B1) ... so on ...
For the 3rd band you can by cutting the 9cm flap. ... Because you will paste the last page on the front cover page.
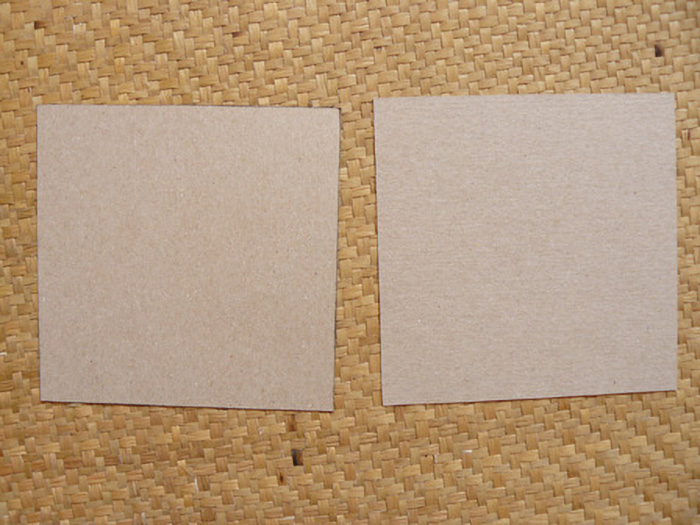
Our accordion is now ready to be decorated ... To make the covers, cut 2 squares of 15x15cm in the cartonette.
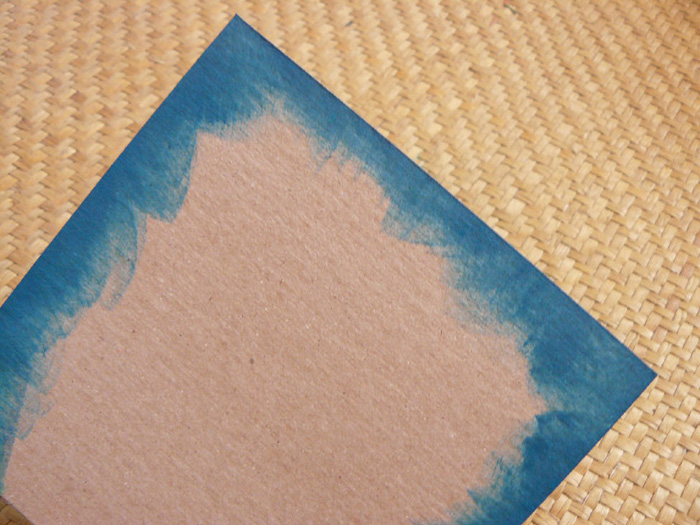
![]() On the inside ... paint and ink the edges.
On the inside ... paint and ink the edges.
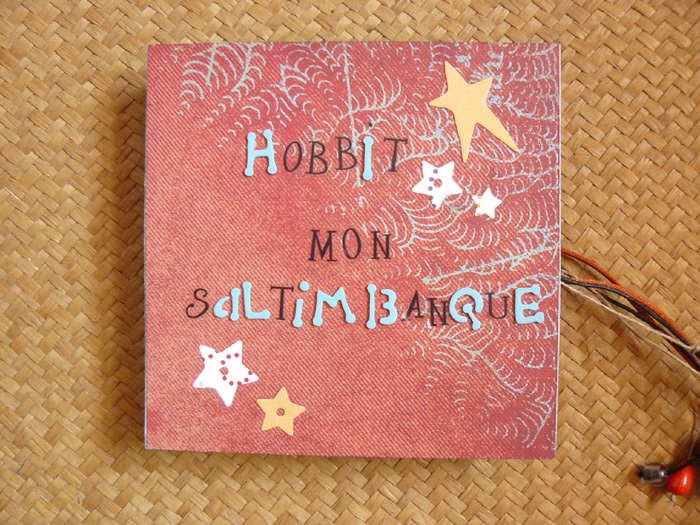
![]() On the outside cover of a printed paper ! Then decorate the cover
On the outside cover of a printed paper ! Then decorate the cover
![]() Do the same for the back cover.
Do the same for the back cover.
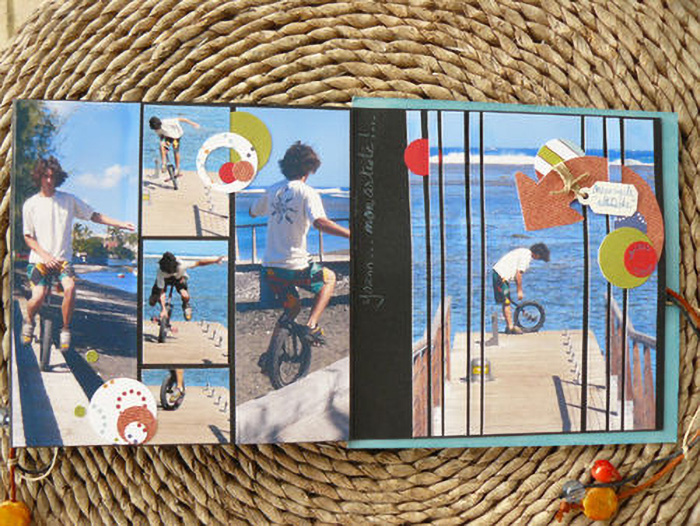
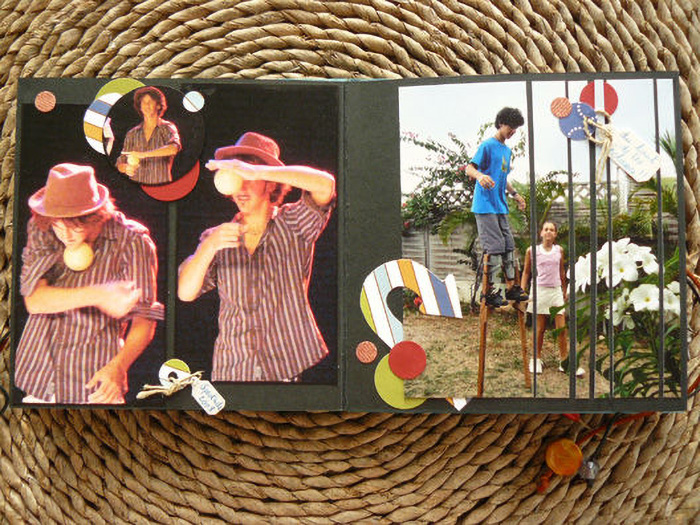
![]() Put on stage each of your pages based on pictures and the chosen theme for this album ... I opted for some pages-strips with cut photos to give an effect of lightness ...
Put on stage each of your pages based on pictures and the chosen theme for this album ... I opted for some pages-strips with cut photos to give an effect of lightness ...
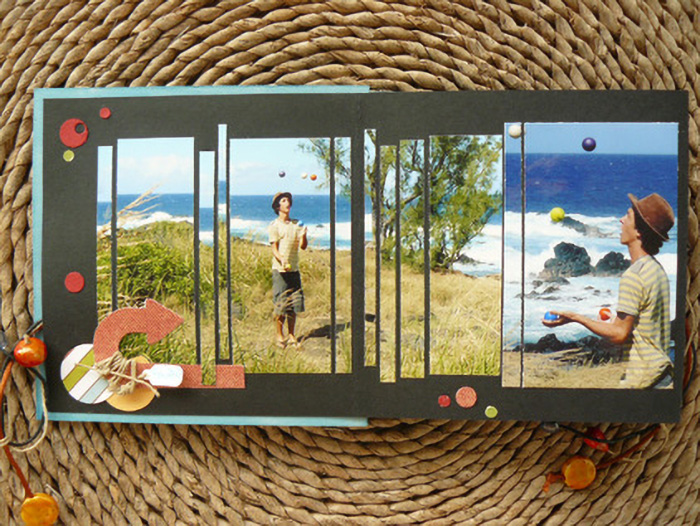
![]() For this strip cutting technique , nothing too complicated. ...no need to take reference marks… cut out the photo as it!!! Be careful though not to cut a character, a monument...to keep all its value.
For this strip cutting technique , nothing too complicated. ...no need to take reference marks… cut out the photo as it!!! Be careful though not to cut a character, a monument...to keep all its value.
![]() Your strips will vary between 0.3 cm and 1.5 cm ... As we are in a mini album making, vary the cuts ... just on the right for a photo, or on the left .... Just above or just below ... everything will depend on the size of the picture ....
Your strips will vary between 0.3 cm and 1.5 cm ... As we are in a mini album making, vary the cuts ... just on the right for a photo, or on the left .... Just above or just below ... everything will depend on the size of the picture ....
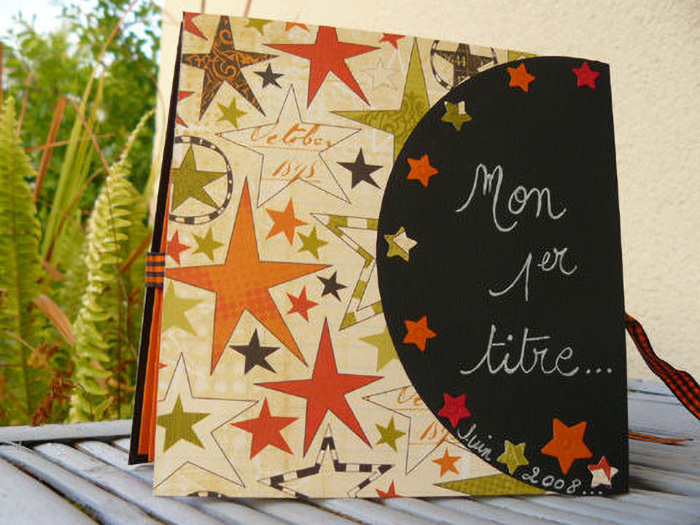
 The final result
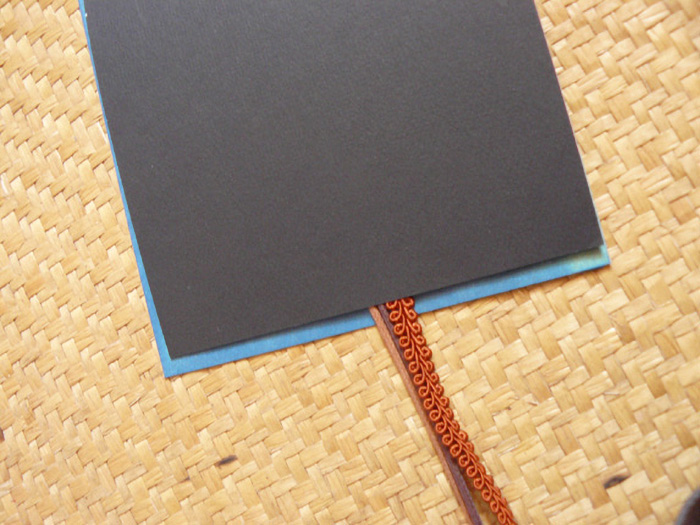
![]() Attention, before pasting your accordion on the cover pages do not forget to spend a ribbon, cord below .... For the closure!
Attention, before pasting your accordion on the cover pages do not forget to spend a ribbon, cord below .... For the closure!
Place your flat light cardboard, the underside facing you, place the ribbon ...
Glue the back of the 1st page of the accordion at the top and bottom of the page ... leave an not stuck area for your ribbon can slide during the opening / closing of the mini ... Then repeat the same thing with the last page.
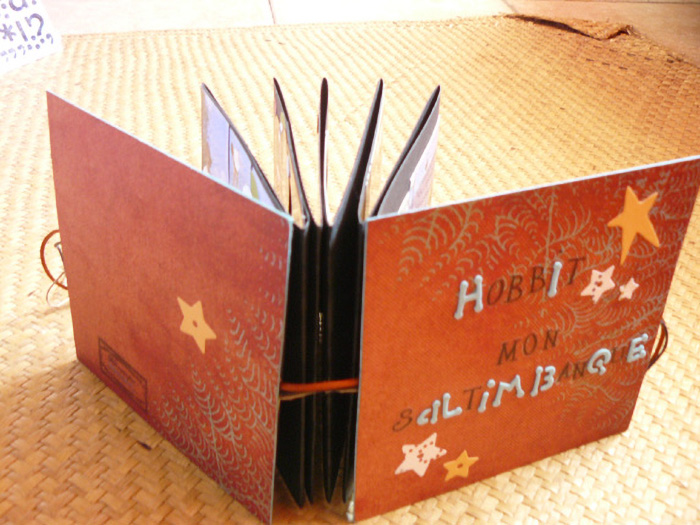
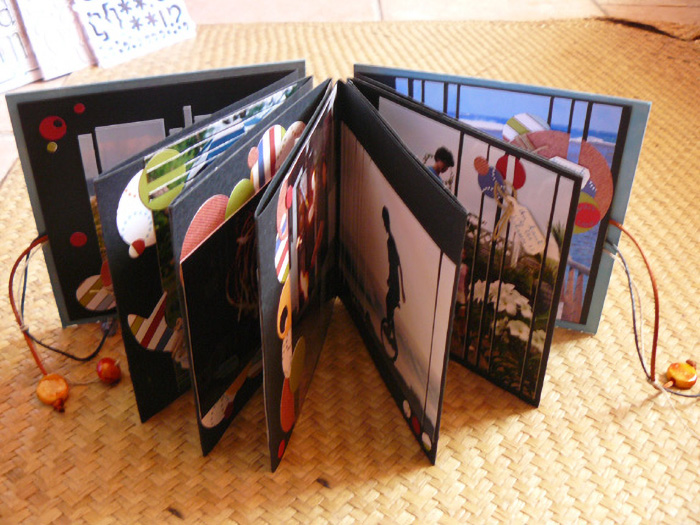
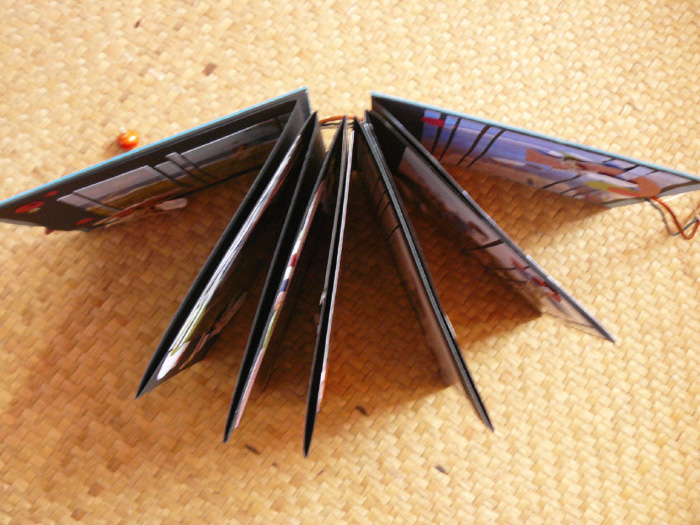
![]() Here are some pictures with a back, front and top views!
Here are some pictures with a back, front and top views!
With the same technics, discover a second mini-album accordion ... HERE
![]()
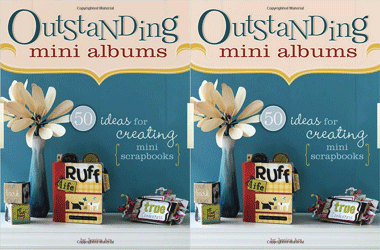
Outstanding Mini Albums:(Paperback) Jessica Acs (Author)
Mini albums have become a popular medium for scrapbookers - they are small enough to complete in a timely manner but big enough to tell a story.
Features 50 albums with step-by-step instructions for over 30 projects - perfect for scrapbookers of all levels...
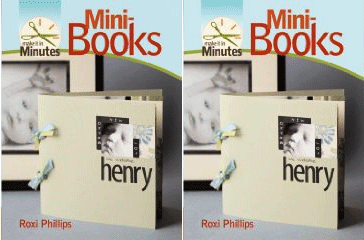
Make It in Minutes Roxi Phillips (Author)
these mini-books are perfect for celebrating everything from holiday memories to childhood events
So many styles, so many reasons to make them! Whether they’re accordion folded, stitched together, ribbon-tied, or paper-punched and bound with binder rings...

