A simple and easy technique
to clip with the pen tool.
How to Easily Use the Clipping Pen Tool
To learn how to clipping: you can search on GOOGLE with keywords "photoshop clipping" or "feather tool". Many sites offer solutions, techniques and step-by-step instructions.
If you find these tutorials too complicated, here's a simple clipping method that has been proven to be effective.
 An example to test the method
Practice on this easy example by downloading the working image HERE. We will hijack this picture by separating the phone from the background in less than 30 seconds...

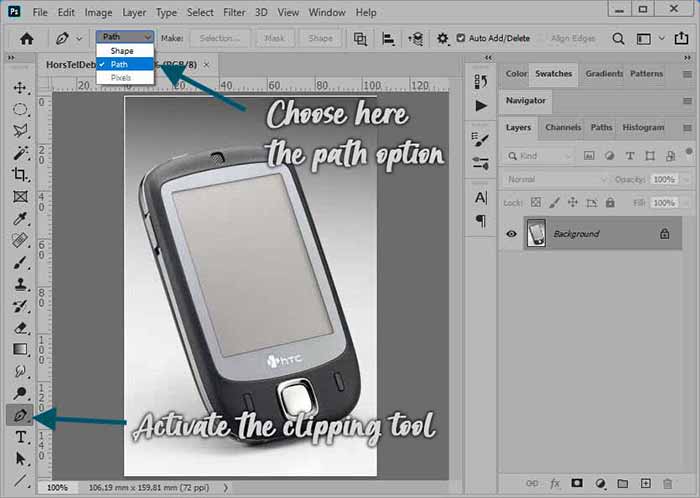
Open the image in Photoshop and activate the pen tool... using the path option:
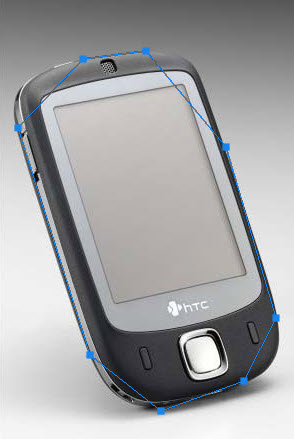
Click a first point near a curve along the clipping to be performed. Click a second point on the other side of the curve: do not drag the mouse during this click so that the tangents do not appear, just click.
Your first two points are connected by a segment inside the drawing... Don't worry, you will adapt it afterwards... The goal is to draw a simple polygonal line that has its vertices on the object to be diverted.
Then continue in the same way so as to close the drawing with the minimum number of points (here, 8 points were enough).
Now take the Add Anchor Point tool (![]() ) and click on the first segment (do not stay clicked). A new point appears with its tangents.
) and click on the first segment (do not stay clicked). A new point appears with its tangents.
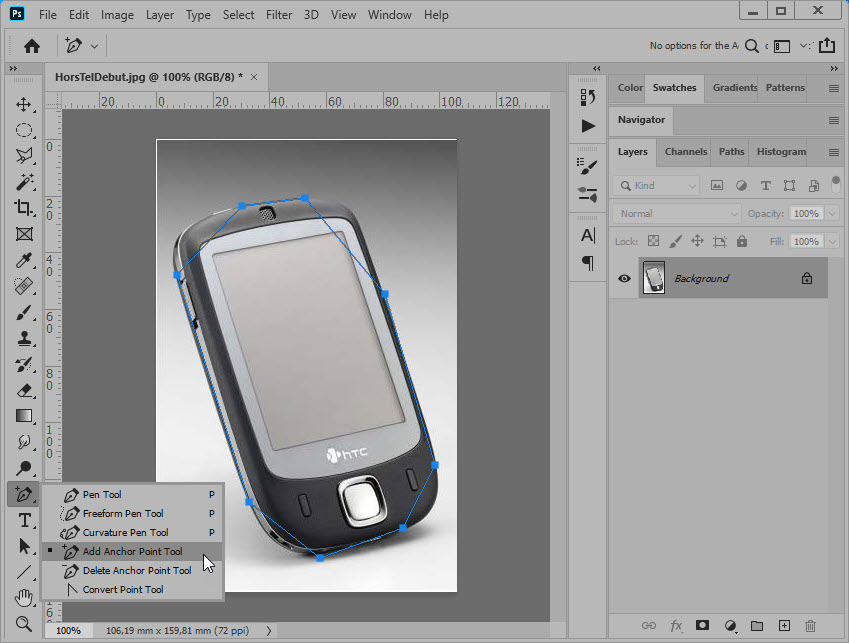
Click again on the point, holding the click this time: you can drag it over the object to be diverted... and, by moving it, adapt the curve to fit it as well as possible.
The most important thing is to understand that at this moment, it is absolutely necessary to click on a point, release the click and click again to drag the created point.
Regardez la video
You can now also adjust each of the tangents individually. Do this for all segments.
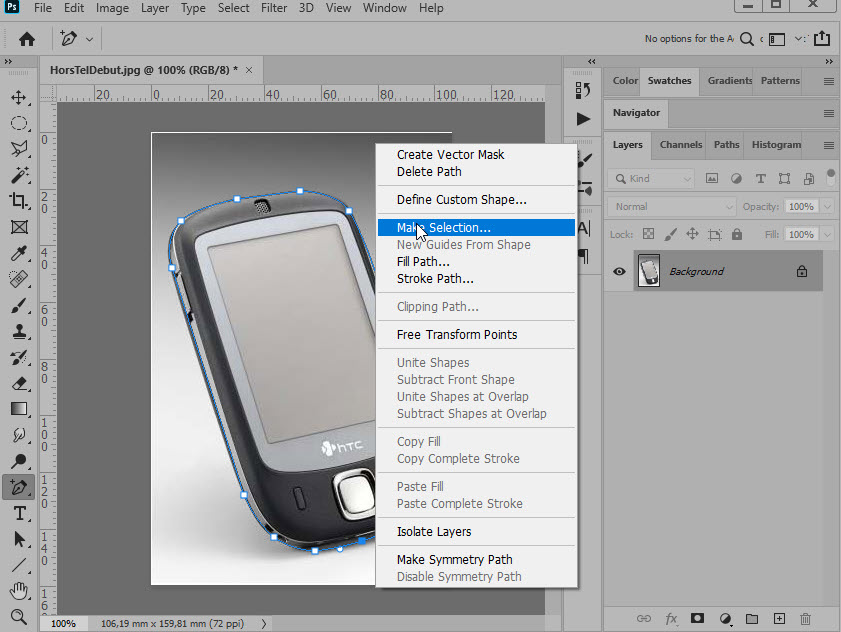
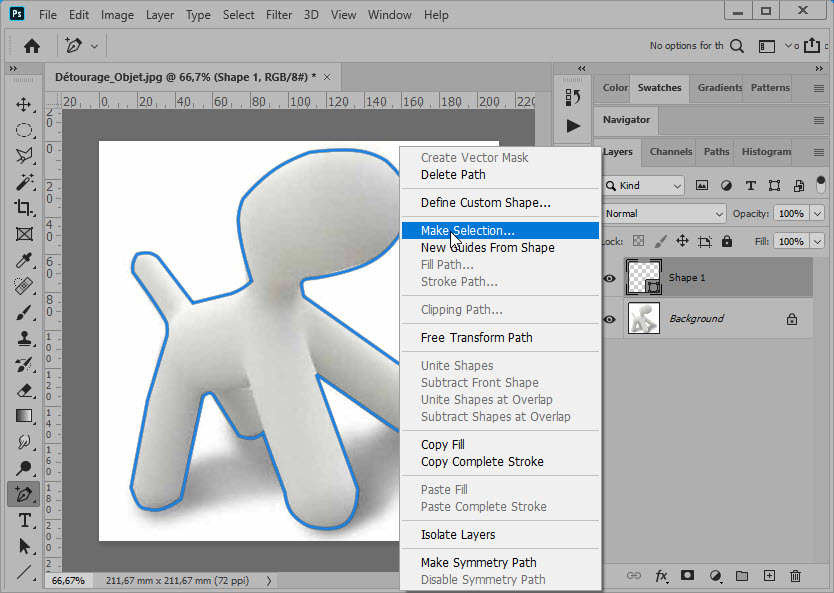
To finish, right-click on the image and choose Make Selection.
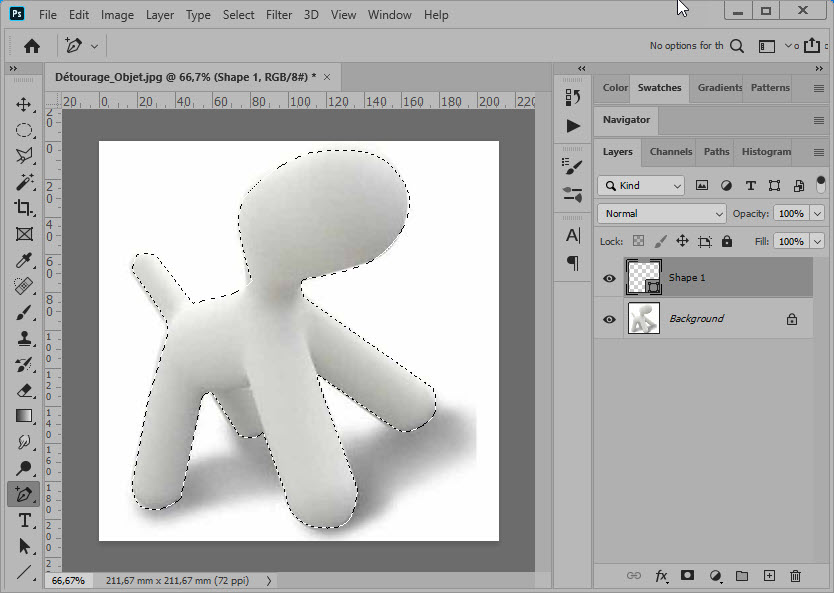
Your clipping is done! You can now copy the inside of the selection or, by inverting it, select the outside to remove it.
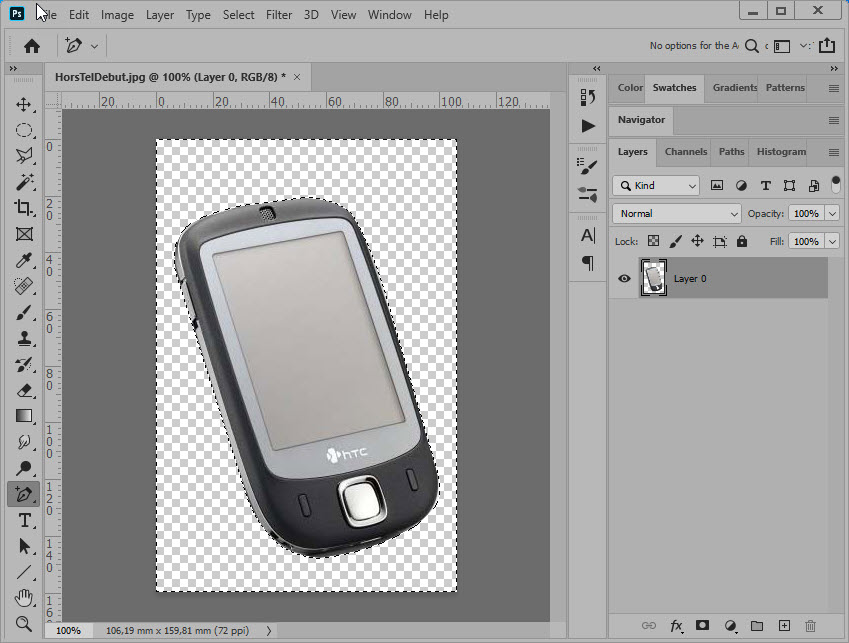
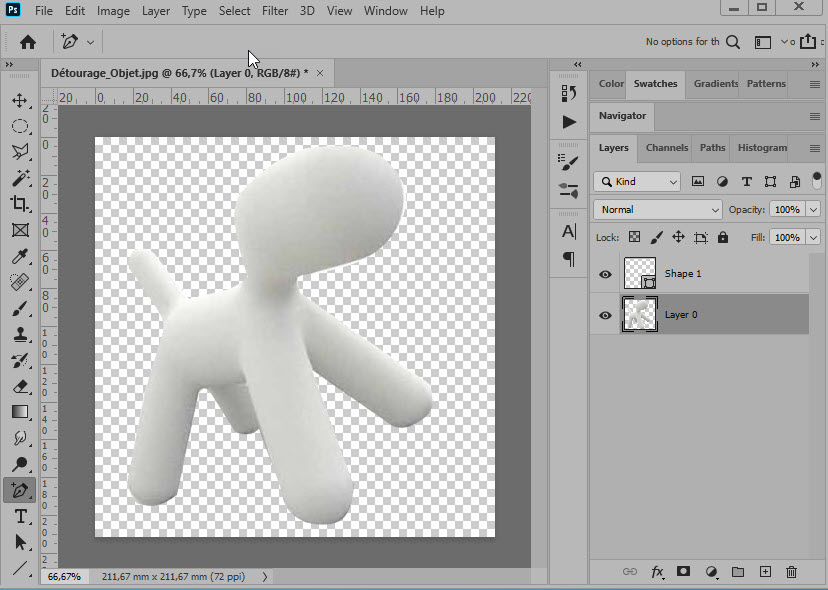
To get the last image, I swapped the selection and pressed Delete. In the merge options, add a drop shadow . You can now place your crooked image on the background you want.
Not too complicated though!
 A second example
And if the object has concave curves... Exactly the same process! You must have 2 points that frame each curve, convex or concave.
You can download the new image and practice.
Here are the main steps of the exercise :
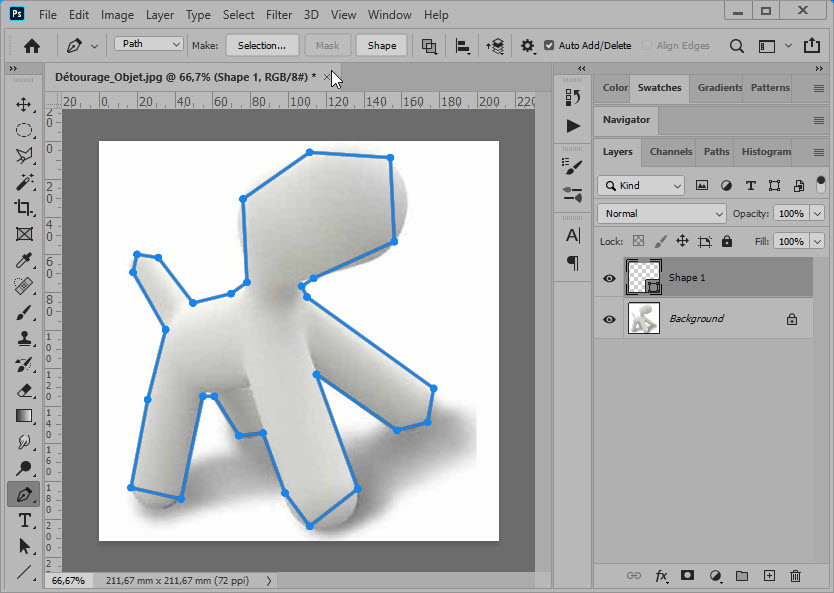
For the rounding of the end of the legs, you will have to adjust the tangents with the Add Anchor Points tool so that the curve "sticks better" to the object.
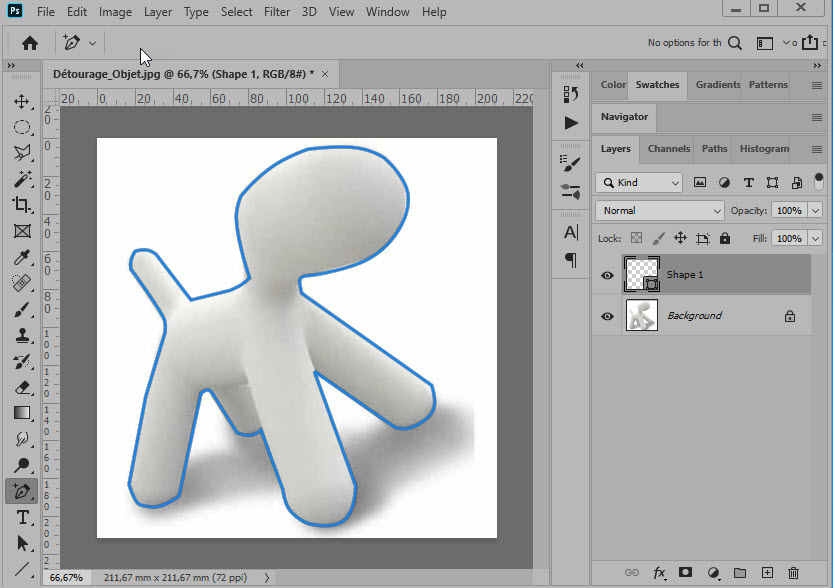
Then right click and Define a selection.
Isolate the selection and delete everything else!
You can see that it's not too difficult to use the photoshop pen tool !!!