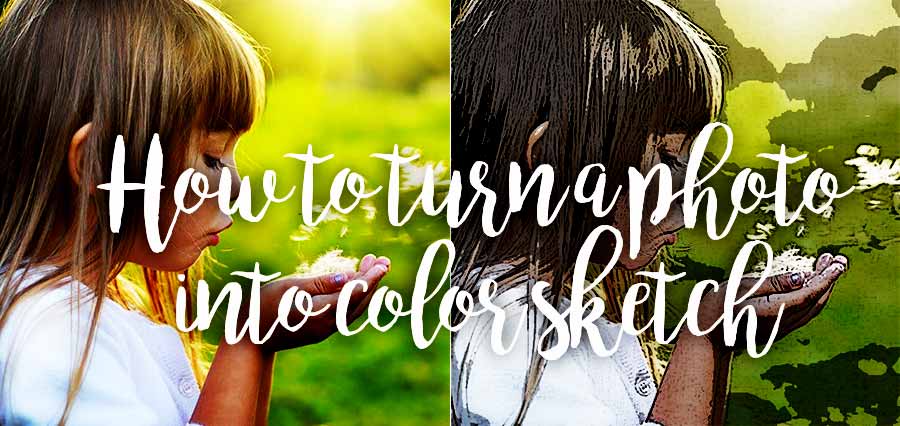
TURN EASILY A PHOTO IN COMIC
From photo to comic ...
a simple and effective technic.
There are dozens of ways to turn a photo into a comic sketch ... To realize this, simply run a query in Google : you can find many and many pages about this subject.
The proposed methods, some are better, have however the failure to be either too brief and the result is disappointing ! or quite frankly too complex ... and you are quickly lost in the explanations.
There are also many specialized software to turn images into drawings ... but apart from the filter photoshop AKVIS SKETCH which is very good, some others are not worth the sorrow to be tested!
So I propose a new method which has the advantage of not being too complicated and which work with almost all photos. For this tutorial, I used PHOTOSHOP CS3 and basic functions : it should not be too difficult to translate it into another image processor (PAINT SHOP PRO, The GIMP or PhotoFiltre ...).
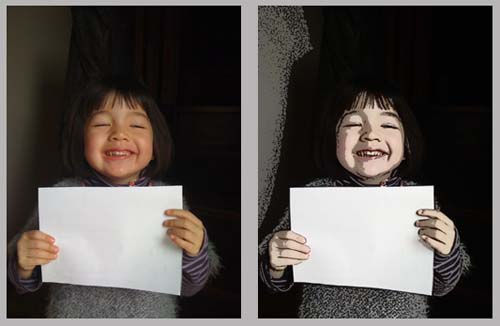
If you're not familiar PHOTOSHOP, this page is a great way to start and to understand the concept of layer and filter ...
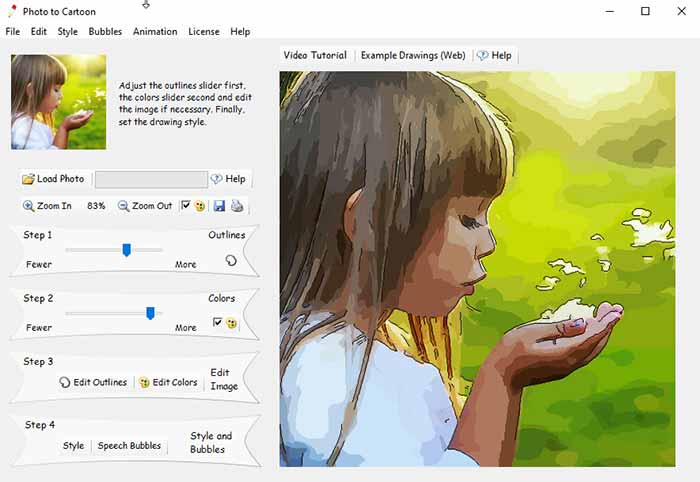
And if you are definitely resistant to photoshop... and you still want to get good results, think about PhotoToCartoon, a little software that you can try for free and that often gives good results... You will find it on the site caricaturesoft.com where you can download a demo version; they also have an online version: try it and you'll understand why I don't recommend it!
Turning photo in Comic : tutorial
 starting the tutorial
Start by opening your image in PHOTOSHOP. It must have a correct definition : 1200x1600 (photos taken with an iPhone for example), mine is 2000x2000 px
First make sure that your foreground color and background are White and Black.... see at the bottom of the toolbar:
You will duplicate two times the background by running 2 times: Layer> Duplicate Layer and naming the two new created layers : calque1 and calque2. These layers are copies of your picture, and we will work with them... Here's your layers palette after this operation :
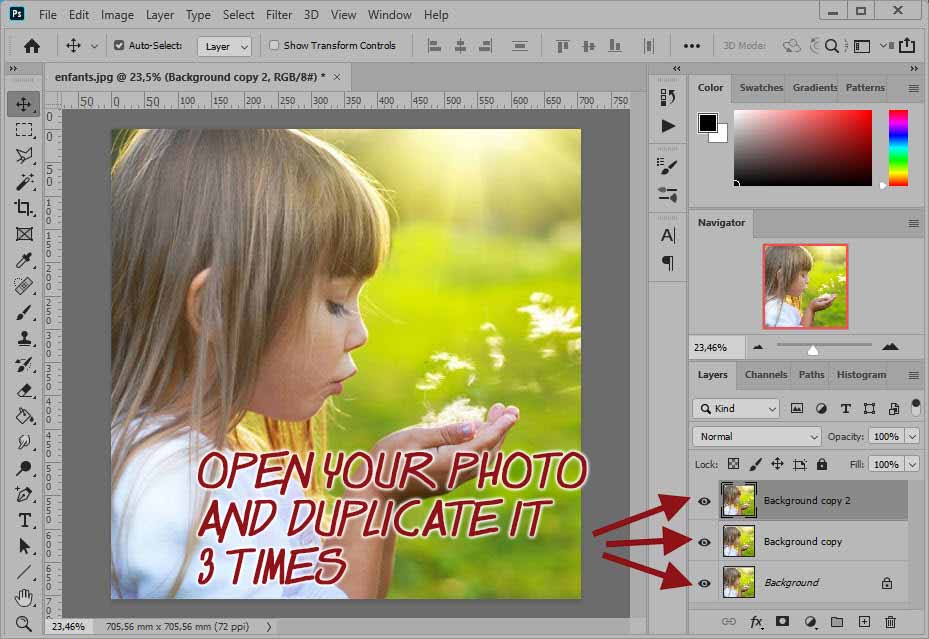
Now we can begin treatment ...
 Applying the first filter STAMP
Select the 2nd layer and apply the filter : filter>Sketch>Threshold. Adjust for sharp, high-contrast edges. Confirm by clicking OK ... The result appears on your image.
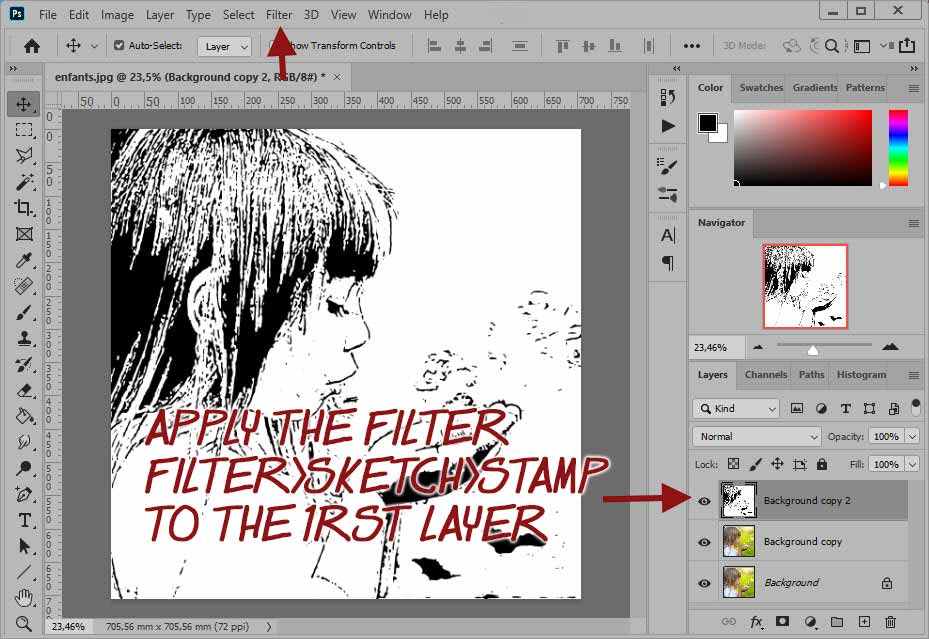
 Running THRESHOLD adjustment
Now select the Layer 1 by clicking in the layers palette.
Then run: Image>Adjustments>Threshold. Choose a medium setting (most of the time, 128 is the right setting) and click OK.
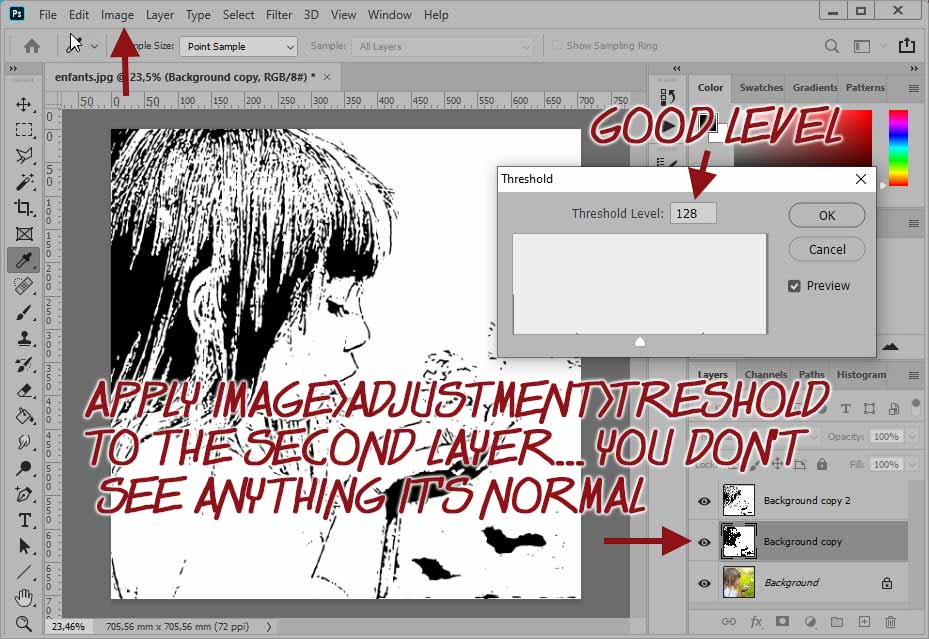
Nothing seems to happen! That is natural : the result is hidden by the top layer!
 Mixing the two layers 1 and 2
Now select the layer 2 and set its opacity to 50% by acting on the slider ...
Select layer1 and layer2 and merge them .
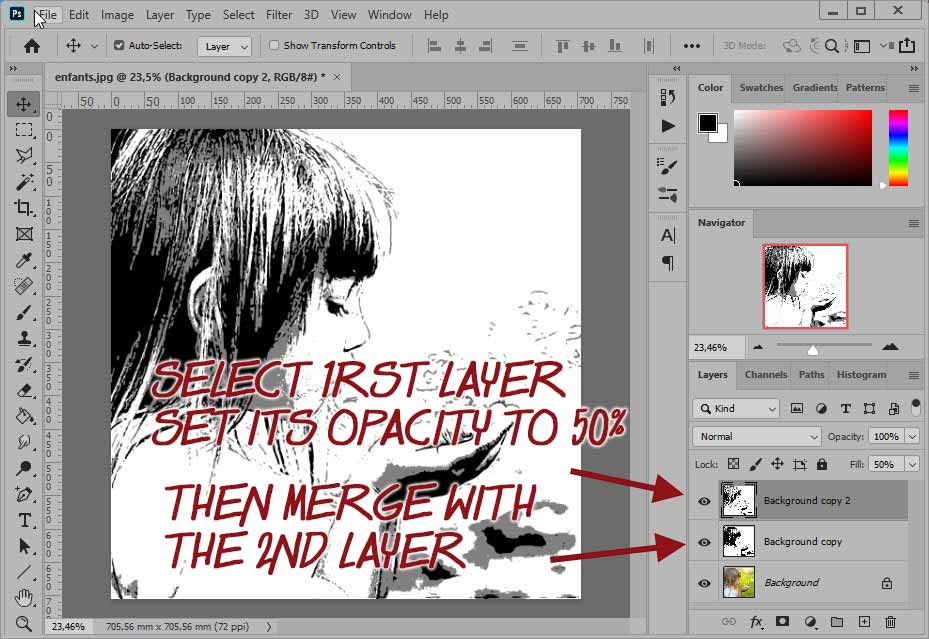
We now merge the two layers ... Hold down the Shift key and click the calque1: the two layers are selected.
The two layers are merged ... with the name of background copy in the layers window.
 Colorization of the image
Normally, in the layers palette, calque2 is selected (if not, click on it to select) ...Set again its opacity to 50% ... the color of the background layer appears ...
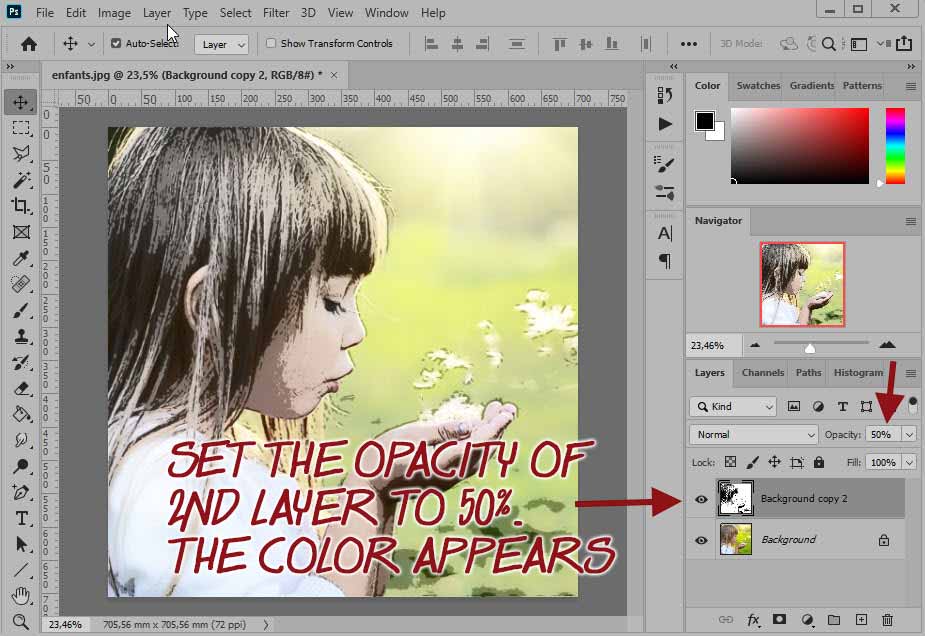
Merge the 2 layers... job is achieved...
The final image is now fixed: save your work!
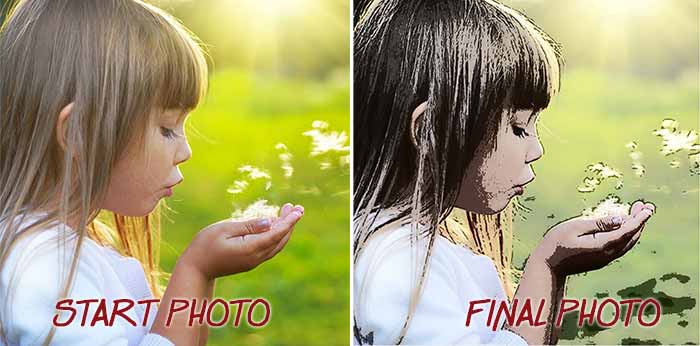
 Treating a lot of pictures ...
It would be tedious to repeat this treatment for a whole batch of pictures ... Why not use a ACTION SCRIPT? What's that ACTION ? Well all actions made on your original image will be saved in a script ... and then you can apply the script to other photos of the lot! Simple.
If you want to know everything about these scripts ... click HERE . It is completely and very well explained! If you want to simply download the script BD_New_Couleur.atn without creating it yourself click HERE ...
Visual Start Guide
photoshop CC
Hallelujah!!! A Photoshop book that indicates new or improved Photoshop features!
Adobe Photoshop CS6
Class room in a book
With 14 lessons I was able to cover most of the book in two weeks, spending about 2 hours a day
Learning Photoshop
Complete Training
This Book Teaches You Complete Photoshop CS With Pictures And Practical Examples, Best For Learning A Professional Course.
