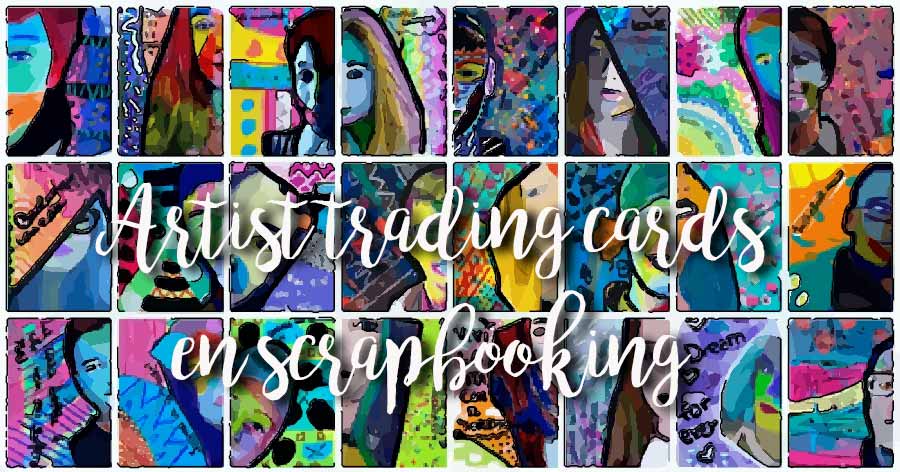
ARTIST TRADING CARDS (ATC)
WHAT YOU NEED TO START
 ORIGINS OF THE ATC
The tradition of sending cards for special occasions such as Christmas, New Year, birthday ... is fairly recent, that is to say a century and a half. Previously people visited directly.
Ancestors of the greeting card, the pages of good wishes appeared early in the fifteenth century. In the seventeenth century, greeting cards were printed by merchants and sended to their customers for the New Year day. They were hand decorated with dried flowers, ribbons collages ...
As a part of our traditions of the holidays time, greeting cards that are exchanged for Christmas or New Year time originate, once again, from England.
The evolution of this custom also became quickly in Europe, particularly in Germany, thanks to a new printing process. This technique, called lithography, allowed to reproduce a large number of drawings or texts.
In 1840 was launched the first postage stamp, which allowed the cards to be published in series, ready to be sent. At that time these cards were most often family scenes celebrating Christmas or winter scenes.
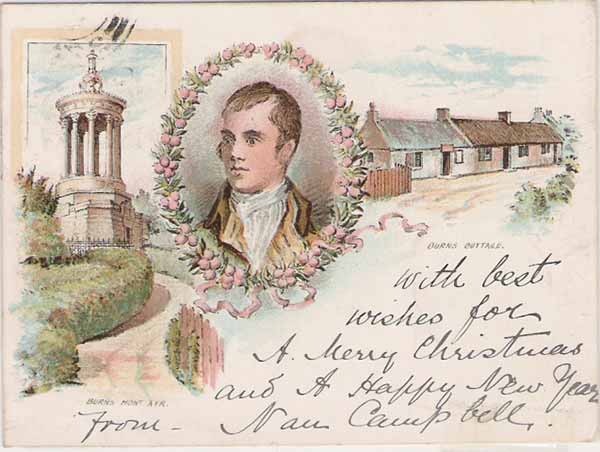
The production of greeting cards in series did not prevent from even doing oneself his cards . The variety of techniques and materials make now of this making a creative leisure very largely widespread throughout the world.
During the year multiple events give us the opportunity to create cards : Christmas, New Year, birthdays, births, weddings or a simple hello ... It is so nice to open the mailbox and discover a hand made card, only made for yourself, and this when the phone and the Internet have assumed a prominent place.
To celebrate these many opportunities, there are many techniques, from simple to more elaborate : The Pergamo, iris folding, 3D and derived style from scrapbooking where inks and stamps take an important place.
This is this last technique that will interest us here.
 EQUIPMENT
If you are already a scrapper you already have most of the necessary equipment. For beginners, here are indispensable tools and materials for creating your cards.
For all the material cited below, it is essential for saving your creations in the years than paper, glue ... are acid free.
 Papers
It is the basis of all your creations.
The plain color papers : (or cardstock) they come in different brands and with an infinite range of shades.
Printedpapers : there are many brands and varied styles (American craft, Rouge de Garance ...). They are offered as a collection that allows you to quickly find the right coordinated colors.
Specials papers : Many special papers exist and they are very diverse: tracing papers, Indian or Nepalese paper, rhodoïd. But you can also add textures such as cork, gauze, corrugated cardboard ...
 Stamps
They are essential for your cards. They come in all styles. Collections are regularly created by the trade marks (Artemio, Hero Arts, Inkadinkado ...)
Wood mounting stamps : Often rubber or plactic stamps, mounted on wood which facilitates their use. They have a noble look.
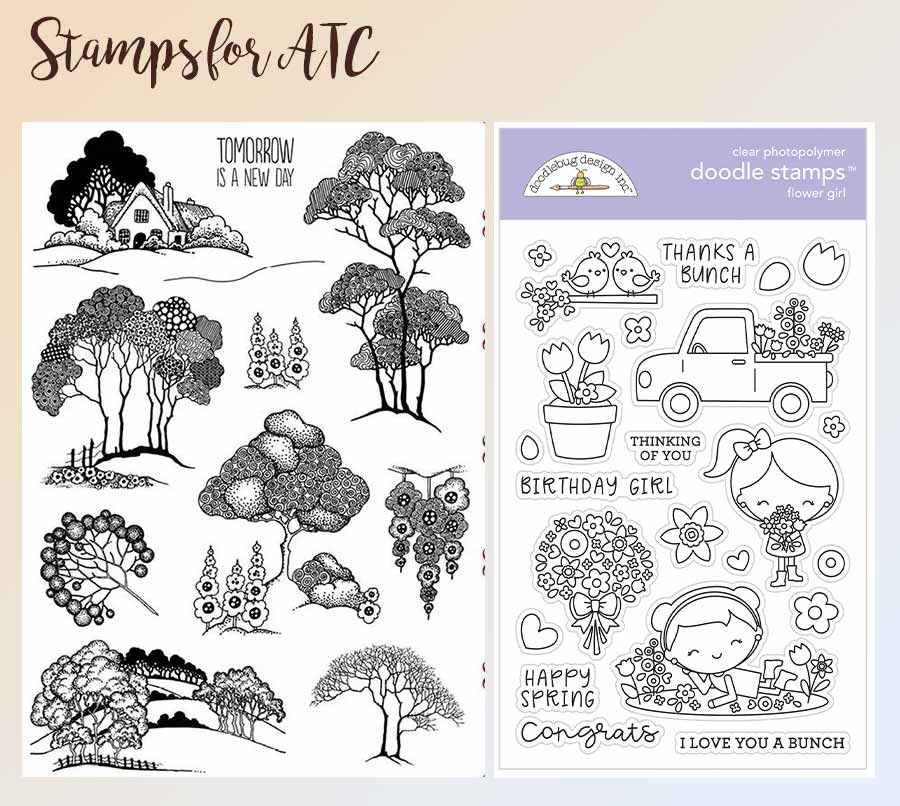
The unmounted stamps: They are practical because they take small space but they are nevertheless more difficult to use. You need to bring an acrylic block and Ez-Mount (foam with adhesive backing or another electrostatic).
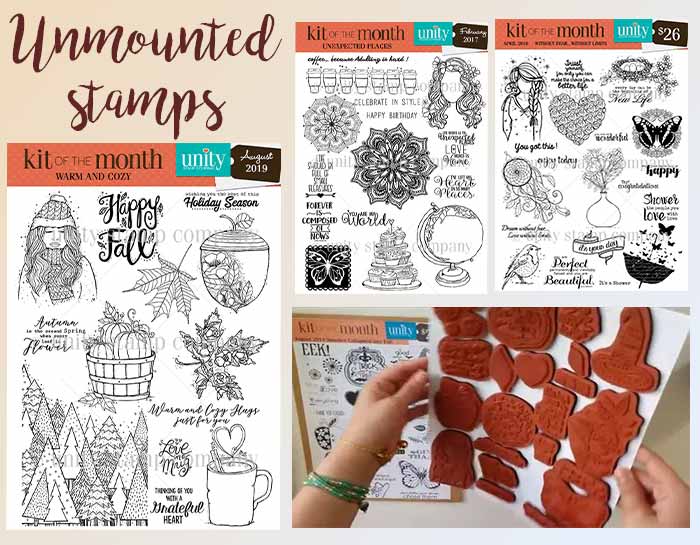
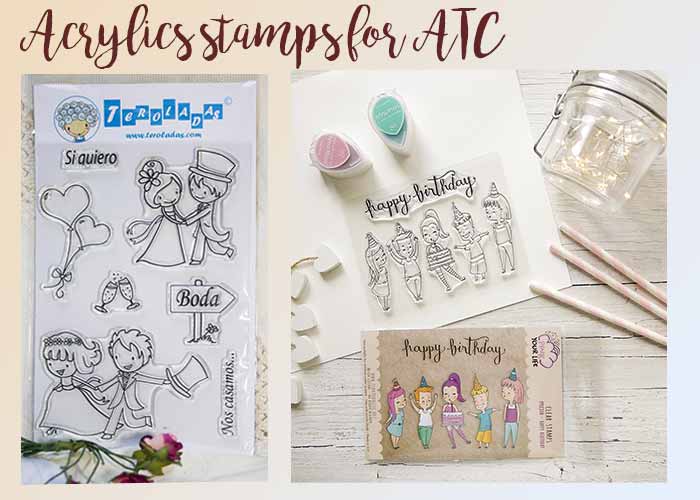
Transparencies or acrylic stamps: They are self-adhesive. Again you need an acrylic block. Their transparency allows you to easily see where you stamp. Inexpensive and sold in plate of several ones, they increase very rapidly your collection.
Foam Pads stamps: They are used as well with ink as with acrylic coats. However, the details of your impressions will be less detailed than with other styles of tampons.
 Inks
Inks
The choice is very vast both in their grades than their characteristics. They are often presented in the form of a case provided with a foam soaked with ink But they may also decline in the form of felts, powder to dilute or liquid bottles.
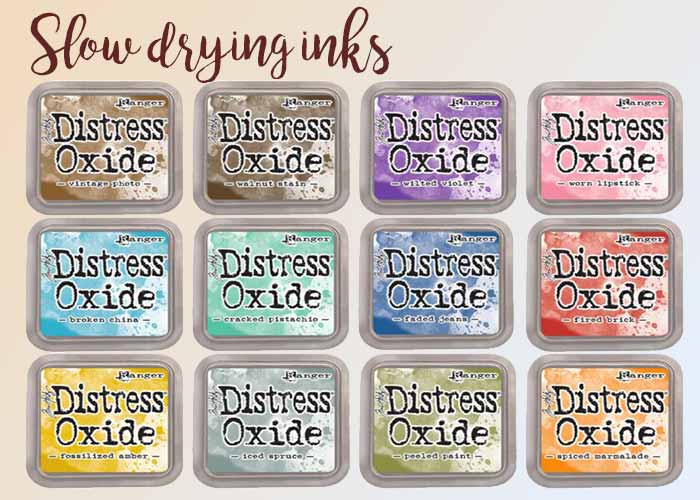
The slow drying inks: Only used for porous materials. Thus they can be used for hot embossing.
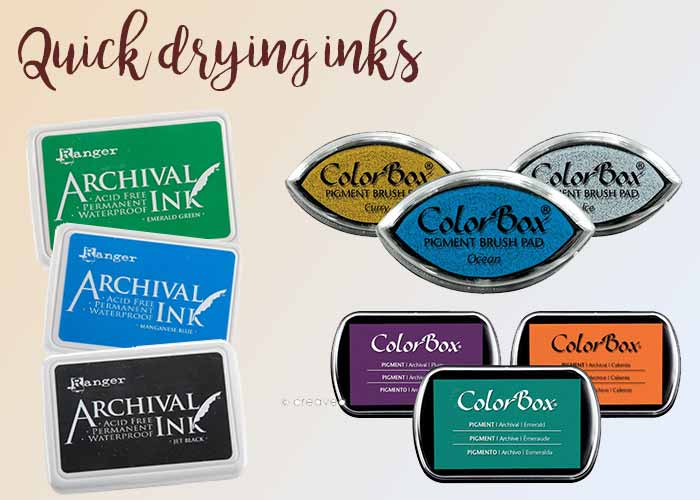
The quick drying inks: The answer is in the question... as indicated, they dry quickly. You can stamp your designs or use them to create very uniform fund. The chalks, using foam, may be deteriorated.
We don't forget :
StazeOn Inks : solvent-based inks, they are permanent. So you can ink materials such as glass, metal or plastic.

Versamark Ink: This is a transparent ink. Two uses are possible with this ink. Either stamp your pattern to make a tone on tone or else use for hot embossing.

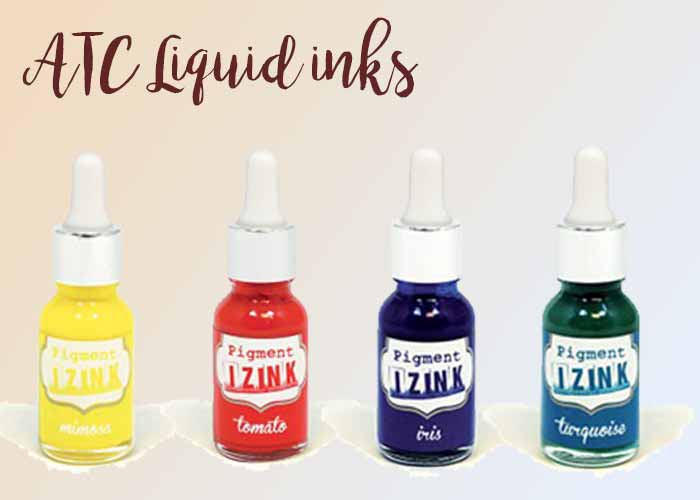
The watercolor ink : Sold in bottles or as inkers, missibles between them, they are ideal to colorize your designs or create your backgrounds. The nuances and the colors are very varied.
This ink list is intended to the simplest possible. There are still lots of other inks (Versafine, Memories, Adirondack ...)
 Stamping accessories:
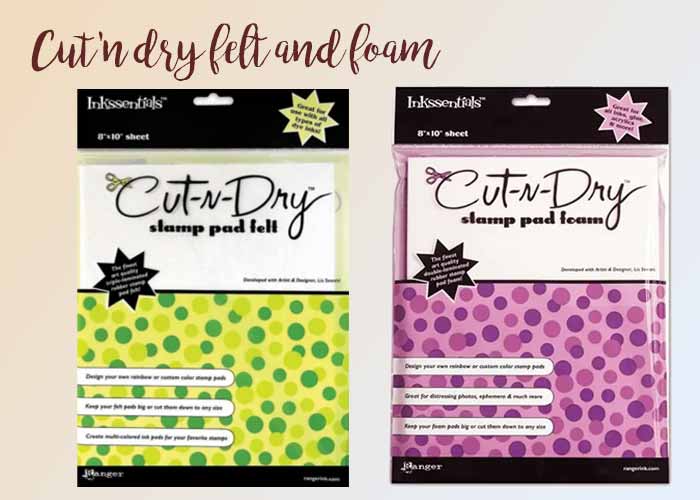
The Cut 'N Dry: a foam that primarily serves to put your ink on your paper. But second the other side allows you to create negative stamps if you pre-heat it.
Acrylic blocks: they allow you to use your acrylic stamps or unmounted.

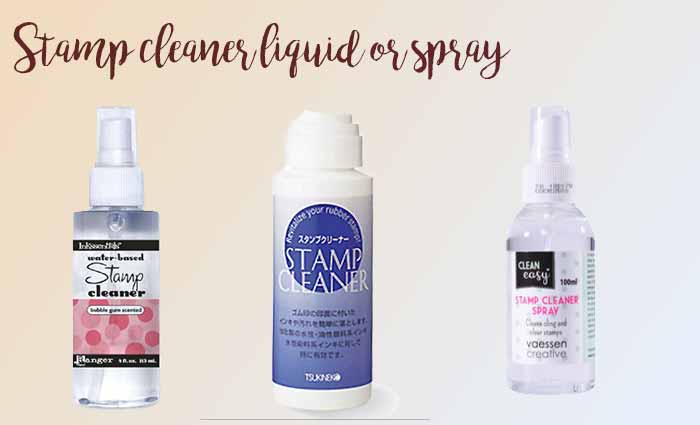
The stamp cleaners : Essential if you want to keep your stamps during a long time. A special cleaning will be necessary for StazeOn ink .
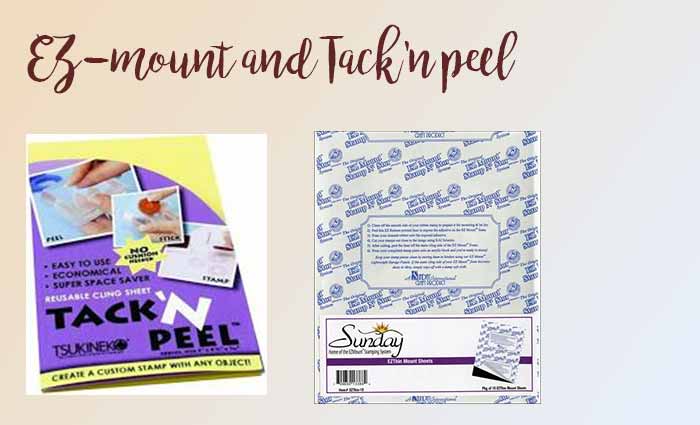
The Ez mount: double sided Foam with one adhesive side and another electrostatic that will be useful for your not mounted stamps
The Tack'N Peel adhesive to put on your acrylic block with an adhesive face and another that lets you stick and unstick your unmounted stamps .
 Powders
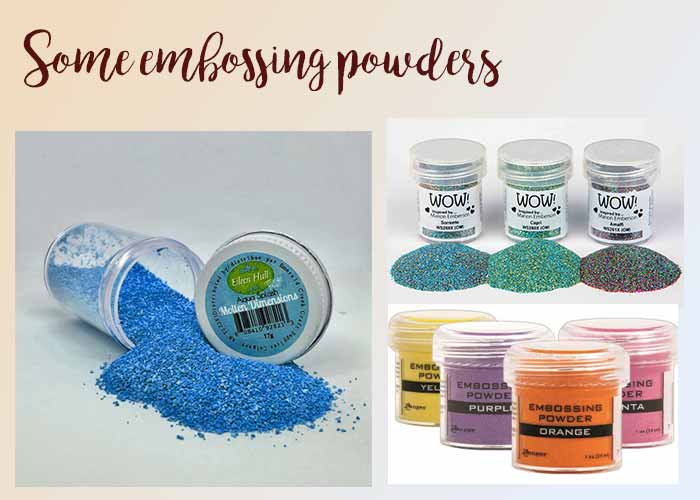
Embossing Powders: These are magical inks . If you heat them they can emphasize and give relief to your patterns or embellishments.
Distress Powders: There are two kind of Distress powders . They give an aged and sandy appearance for the first and a glittery appearance for the second.
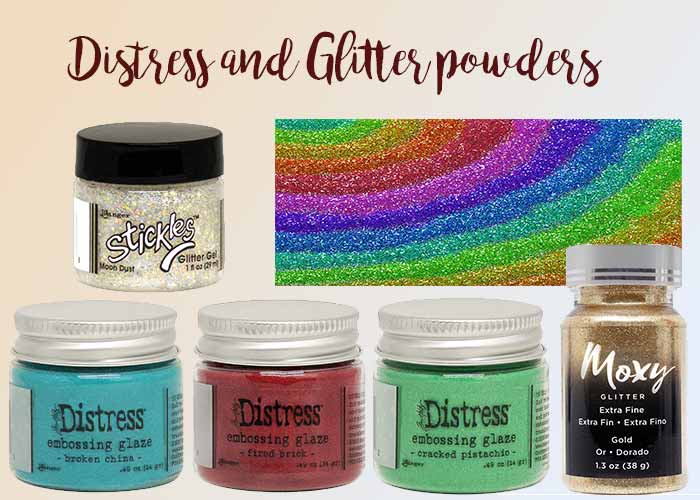
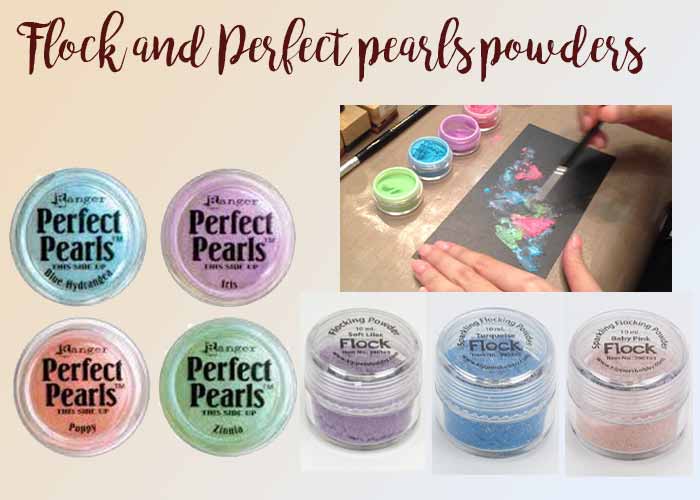
Flocking powders: they give a velvet appearance to your creations.
The Perfect Pearl: With a special thinner they give an iridescent look to your backgrounds for example.
 <
<  Cuts
Cuts
Scissors, cutter, precision cutters and paper trimmers are essential tools. In addition, other cutting systems exist: Punchers (with a pattern, corner or edge) and decorative scissors.
 Embellishments
What distinguishes one card from another is the style given by the stamps, paper, colors but also the embellishments. They will ultimately set the tone of your art-card by drawing attention to a part of your creation. They are extremely numerous.
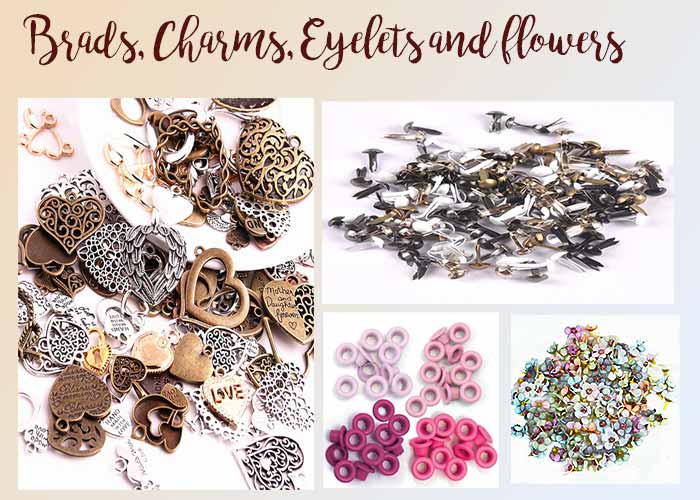
The brads or fasteners: This is a clip that allows you to either attach a tag, a ribbon, a flower ... or a point of color simply. They are very easy to install and require no special tools. Brands are now creating them in the same collection as the papers
Eyelets: They come in all colors. You will need a Silent Sitter or specific pliers to set them. They are both useful and aesthetic. Indeed they allow you to pass a ribbon or attach a tag.
The charms or breloques: They are small pieces of metal of various shapes : medals, buckles (to pass a ribbon) hinges, flipettes. They give a particular Vintage aspect to your cards.
Flowers: Numerous brands exist. Out of different materials (paper, silk, felt ...) they are perfect for any occasion.
Buttons: These are used to embellish your cards quickly and to highlight on one part of your card.
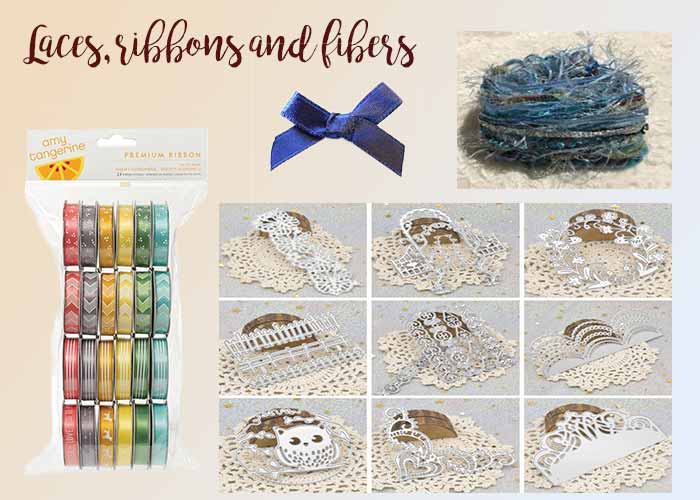
The ribbons, lace or fiber ribbons come in a multitude of color and fantasy. They can sometimes be matched to the collections of papers. You can find some of them as stickers. They will give a very chic look to your cards.
The laces are perfect for Vintage cards , Shabby, "girly" or for topics such as marriage or Valentine's Day.
The fibers will give nature and modern look to your creations.
Sewing: To give a nice effect to your cards, remember to do a few stitches to frame your pieces of paper or attaching buttons or ribbons.
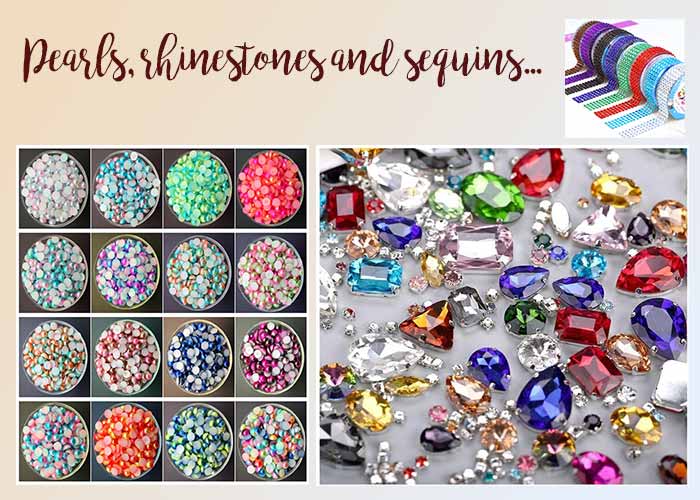
Pearls, rhinestones and sequins: They will immediately give a sparkling look to your Christmas cards, birthday or "girly".
 STYLES OF CARDS
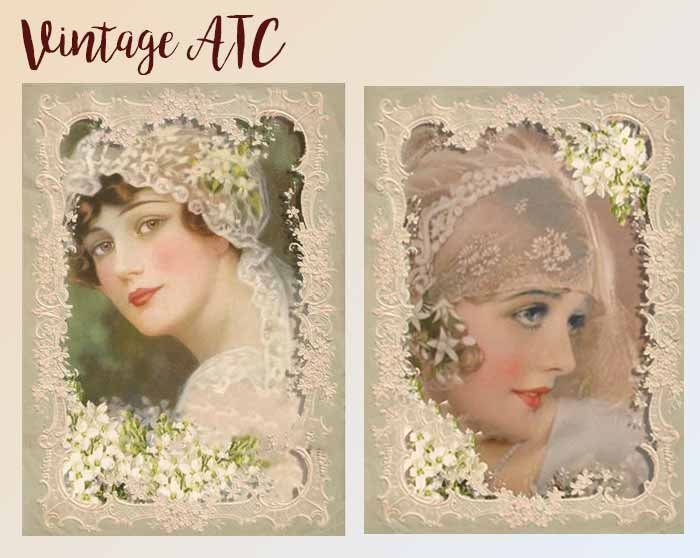
Vintage Style
The vintage style gives an antique look to your cards, so that one might think she crossed the ages.
For this, play with inks (Distress for example), create your backgrounds using the Cut'N Dry, this will give a fade effect. Use old style stamps (florals, figures from the golden age, keys, clocks, postmarks, stamps, collage ...).
By playing with different inks (Distress, watercolors, ink alcohol) you can create truly original and unique backgrounds.
To give other effects, consider for example by spraying with water, use your inks with bubble wrap or put in bowl paper food . To accentuate this antique effect, ink the edges of your pieces of paper.
To finish your card then decorate with laces or charms ...
Here's an example:
Shabby Chic Style
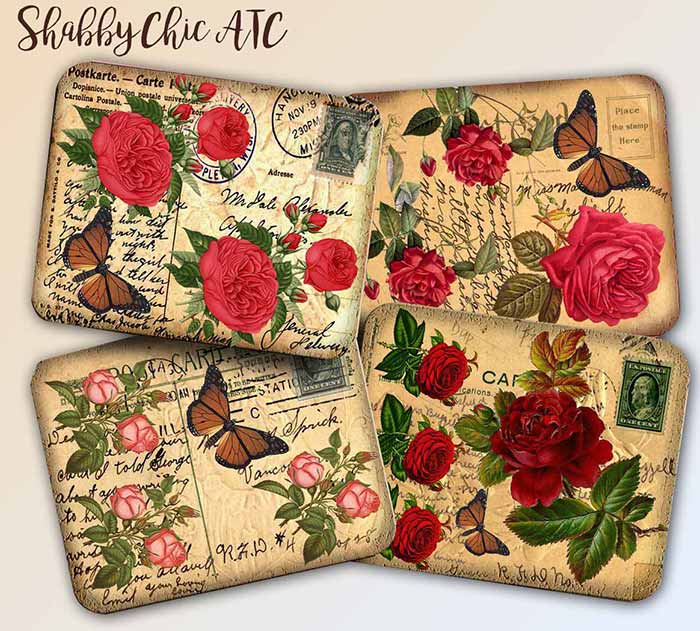
It's a style that is quite easy to confuse with the vintage. The definition of the English word means worn out, grated, threadbare. The "Chic" term brings a sophisticated and romantic manner.
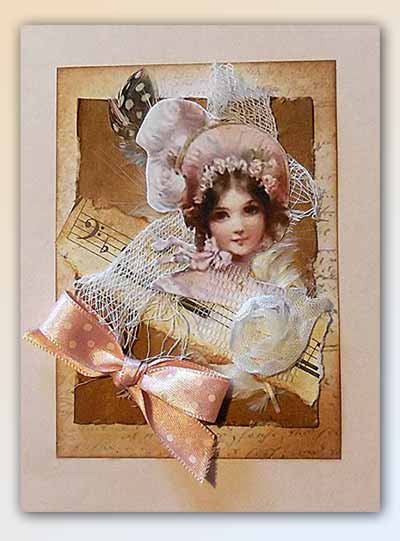
The pink, brown, beige, blue, white and pastel colors are frequently used. The harmony of colors is very important if you want respect this style.
Very often, the papers will be with floral or arabesque. The aspect is that you will old, threadbare, sand and ink your papers.
Materials such as cork, burlap, gauze, corrugated cardboard, lace, flowers have their place in this style.
Examples :
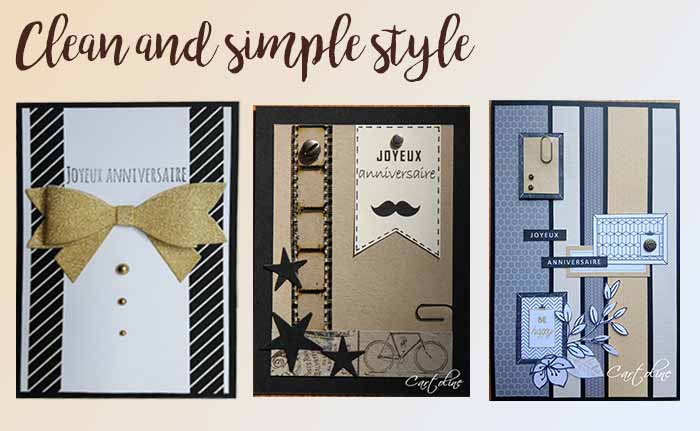
"Clean and simple" STYLE
It is a very refined style, a concise answer. If it is a very simple style for its composition, it is very complicated to lay out.
For this style of card you put the emphasis either on the pattern if you decide to put some on or on a simple game with various papers. There are few colors and few embellishments.
Scrap Style
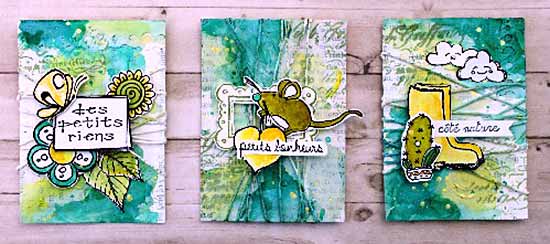
This style of card is provided with the same techniques as for Scrapbooking, . To play with your stamps and replace your printed papers, create yourself your own backgrounds.
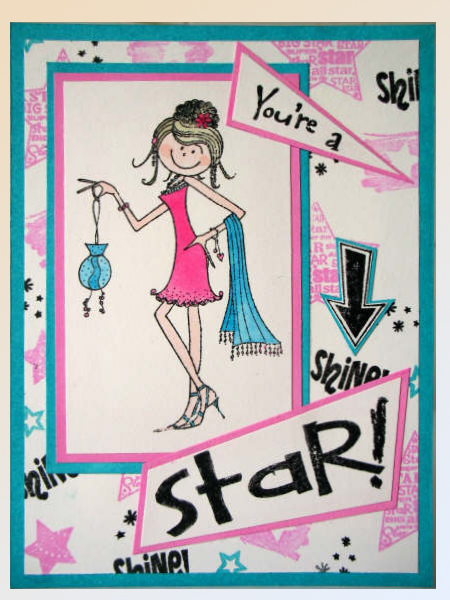
As stated above lines, printed papers are offering vast multitudes of styles for your cards.
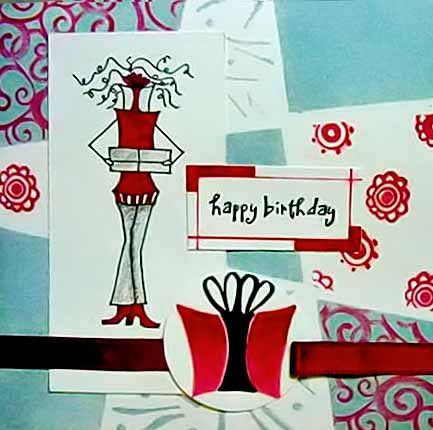
Play with colors and embellishments. The topics are varied for this style of card : Birth, Christmas Time, anniversary or simply the desire to create and send.
These cards are often peppy.
Sites
Here are some sites where you shop to provide you need to complete your Card-making material.
Scrapmalin, Box Scrap Camayon, The Company of Elves, The Ant Creative...
Blogs
Elfes et Companies ISMAKI Sketch Saturday A Spoon of Sugar Friday Sketcher
There are many more
My Blog:
1,000 Artist Trading Cards: Innovative and Inspired Mixed Media ATCs Patricia Bolton (Author)
Making artist trading cards (ATCs) is a hugely popular activity for artists.
THE ATC book !
Artist Trading Cards Leonie Pujol
Ideas for combining paper, metal, beads, and stickers with painting, stamping, and stenciling techniques fill this guide to making 20 artist trading cards.
Very affordable... from $5 !
Artist Trading Card Workshop: Create, Collect, Swap Bernie Berlin (Author)
Use a variety of mediums and techniques...
With this new book, readers will find the tools they need create their own ATCs and join the fun.
It includes: a spectrum of techniques for making cards, collage, painting, metal working, stamping, and more...
Les Artist Trading Cards (French Edition) Isabelle Auroux
The french way to make your own ATC...
Isabelle Auroux is a major ATC specialists in France... She opens for you the door to give your ATC the french touch you need. An original way to vary your ATC.
