A BLUE MULTI PHOTO FRAME :
PUT 4 PICS INSIDE
4 photos frame...
You asked for a rustic one… for a seaside residence... Do not leave!!! As a following for the frames preceding here is a charming small blue frame for 4 photographs.
As it is this frame works fine… but you can perfectly modify its measurements to adapt to your precise case… it's your turn !
The material and supplies
The hardware requirement is limited to the minimun for this small frame . You will need :
- a saw of picture framer or a miter box.
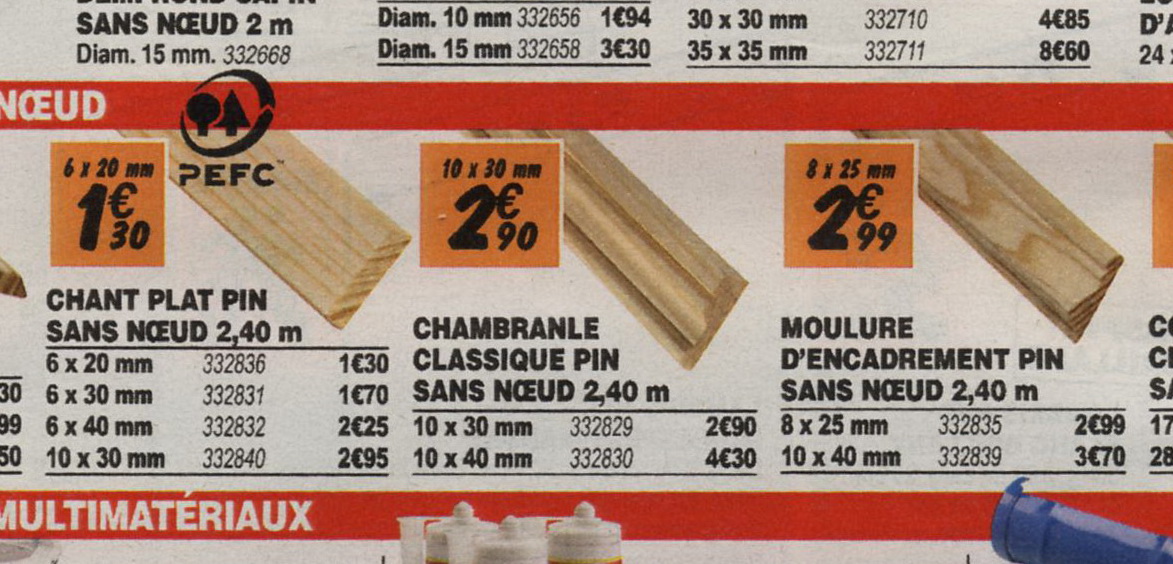
- laths of 2"x0.5" (see Bricodépôt catalog) or other thickness 0.5"cm (pallets wood...)
- square strip wood of 0.5"x0.5".
- fast woodworking glue
- some nails, a hammer… and 10 fingers !
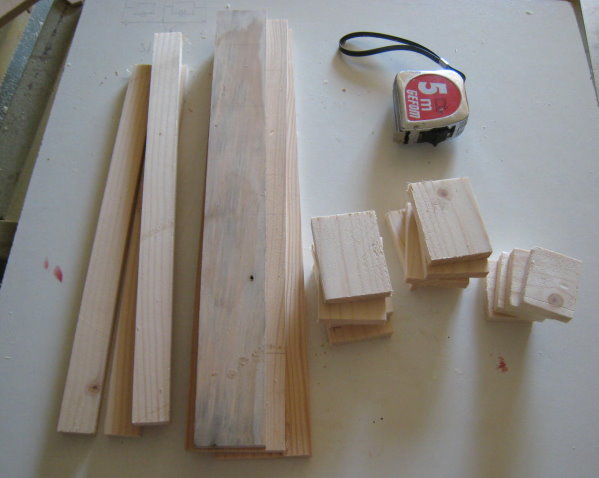
Start by outputting your cleats
I give you measurements I used… according to the malicious pallets wood I had recycled… adapt those to your personal case.
3 laths of 16.8" L. and 2" width.
8 cleats of 2" L. and 2" of width
4 cleats of 2" L. and 1.6" of width
3 cleats of 16" L. and 0.8" of width
Glazing bar on demand which will be cut to measure in square lath of 0.5" on side….
Do not forget, for all the laths which have exactly the same length, so try to work with the stop-block of your picture framer saw (see page Cutting with stop block) That simplifies measurements and avoid to make any more errors...
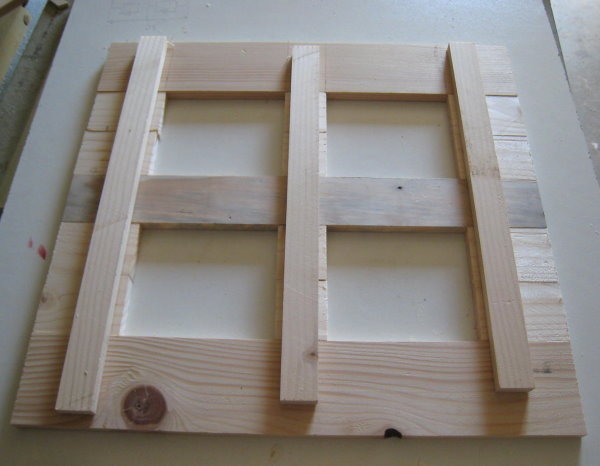
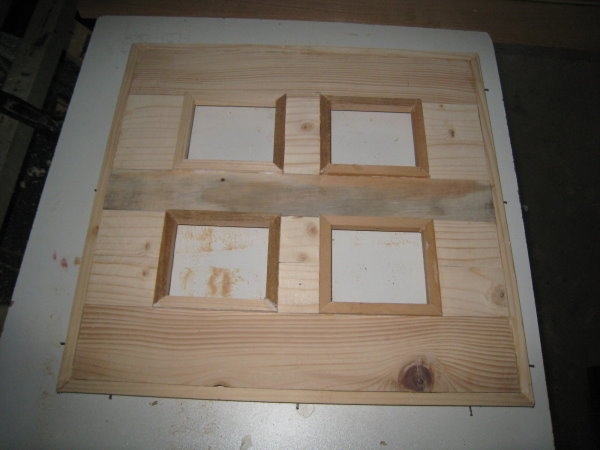
When you've finish cutting the parts of the frame, here what you obtain:
Continue by the assembly…
On yourworkbench, lay out your elements to check if all is well:
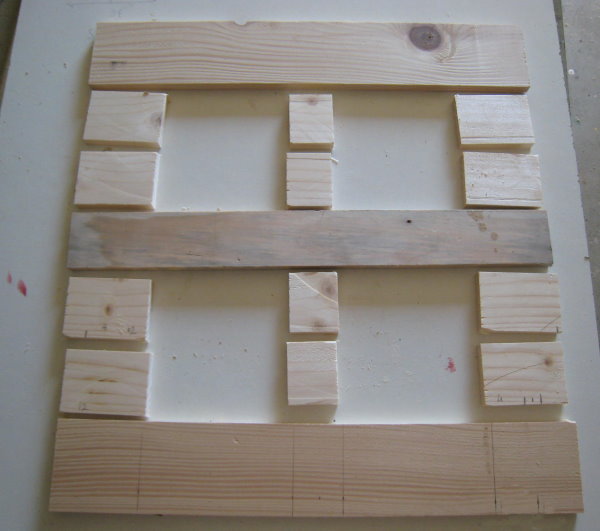
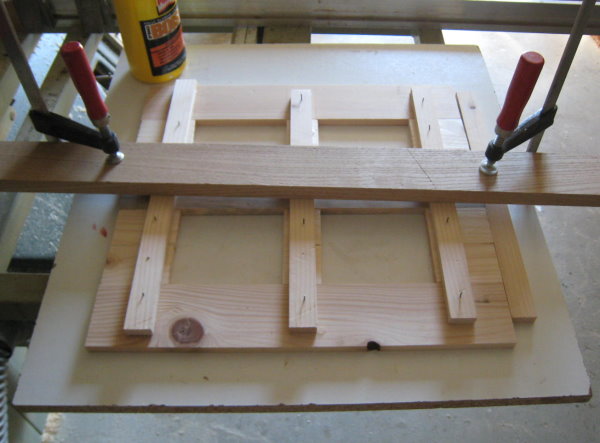
When you are ready, paste the edges of your frame members and tighten the whole unit. Then, paste the 3 laths of 16" and pose them on the frame as indicated on the photograph below:
Fix these cleats with some little nails which you will remove when the adhesive will be dry (4 hours in the case of fast Pattex wood which I use). To tighten more, if you have screw clamps, or strap clamps... use them!
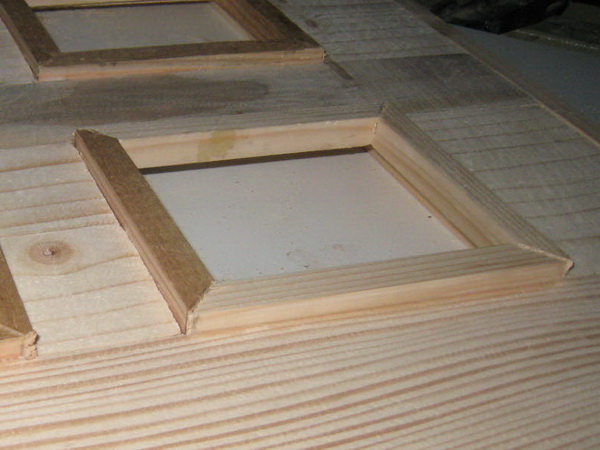
Equip the edges…
Turn over now the frame face up :
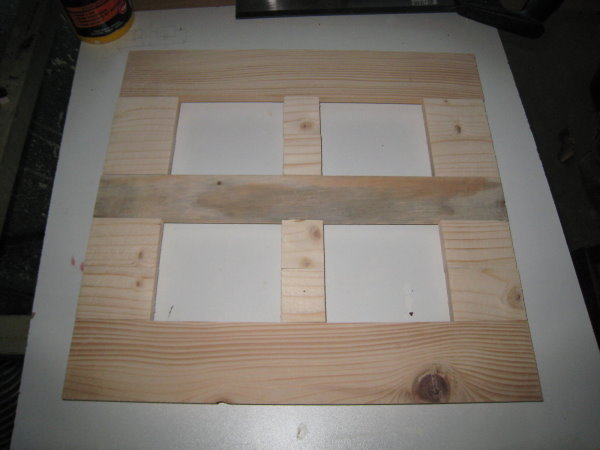
You now will "equip” the internal edges of the 4 openings with “framing bar”.
With your picture framer saw, cut with end miters small pieces of square strip of 0.5" to dimensions of the window interior edges.
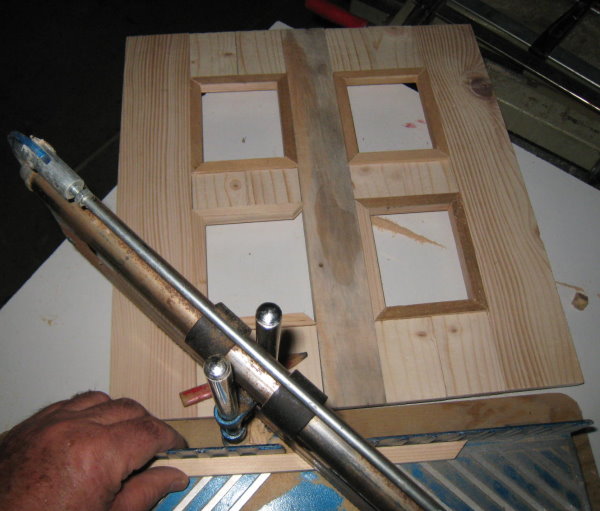
Progressively stick them in place by letting them exceed of 0.15" or 0.20" in manner that they are projecting on the front of the framework.
When you finished, always in the square cleat of 0.5", cut out miter the external edges of your frame. Paste them and fix them with some nails to leave in place after drying.
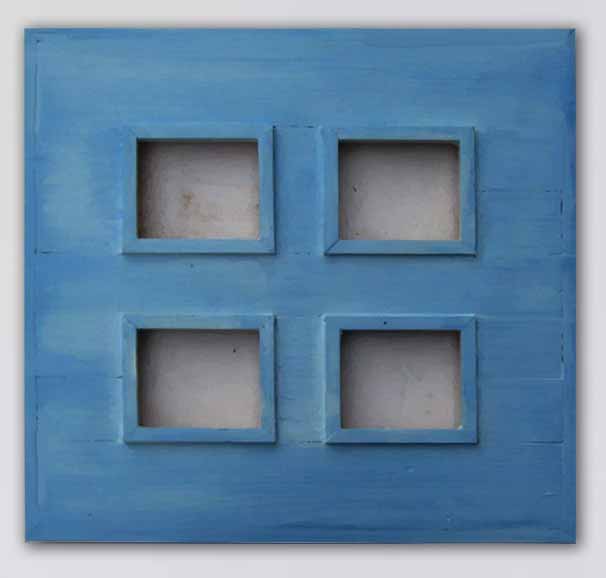
Completions
Give a light sandpaper blow to the frame : it is not question of smoothing it but quite simply to unify the whole by preserving its "hut style".
The 4 small frames are slightly projecting on the front of the frame…
Pass then a first acrylic coat of slightly diluted paint so that it penetrates well in wood. Let dry then give again a light sandpaper blow.
Prepare, with white painting and a little bit acrylic painting Prussian blue out of tube (supplies for artists) a first mixes very clearly… pass on the unit… let “dry” 5 or 10 minutes…
Prepare now a white-blue mixture again a little more dark (you can add a point of yellow to obtain to a hardly duck blue ). and pass irregularly on the first still sleep sticking.
Measure, by behind, the interior of each window and cut for each one a backing out of strong paperboard which you will cover with a printed paper of your choice.
Cut out then 4 photographs to the dimension of your windows, stick them on your backing paperboards… Hang to the wall…
You did it!
Making pictures
frames in wood
Manly Bannister
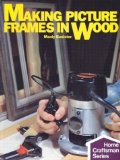
Create all kinds of picture frames from simple wood mouldings to elaborate carved types.
Clear instructions on matting, texturing, finishing....
Wood finishing...
Bob Flexner
I have bought a number of books on woodworking, as well as a few on wood finishing.
This is by far the best book on finishing that I have come across.
The book takes all the mystery out of all the different types of finishing materials and finishing processes...

With a dozen featured projects and ideas for dozens more... Get the right "frame"...